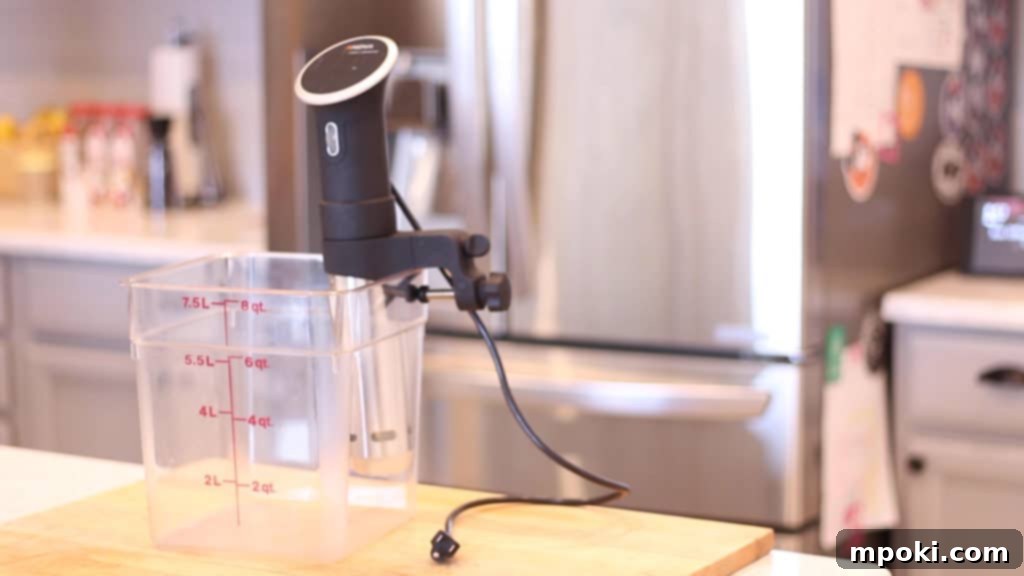
Are you curious about the revolutionary cooking method known as sous vide but feel overwhelmed by where to begin? Don’t worry, mastering the art of sous vide cooking is simpler than you might think. This comprehensive guide will walk you through everything you need to know, from understanding the core principles to choosing the right equipment and cooking your first perfect meal. Get ready to transform your culinary skills with precision and ease!
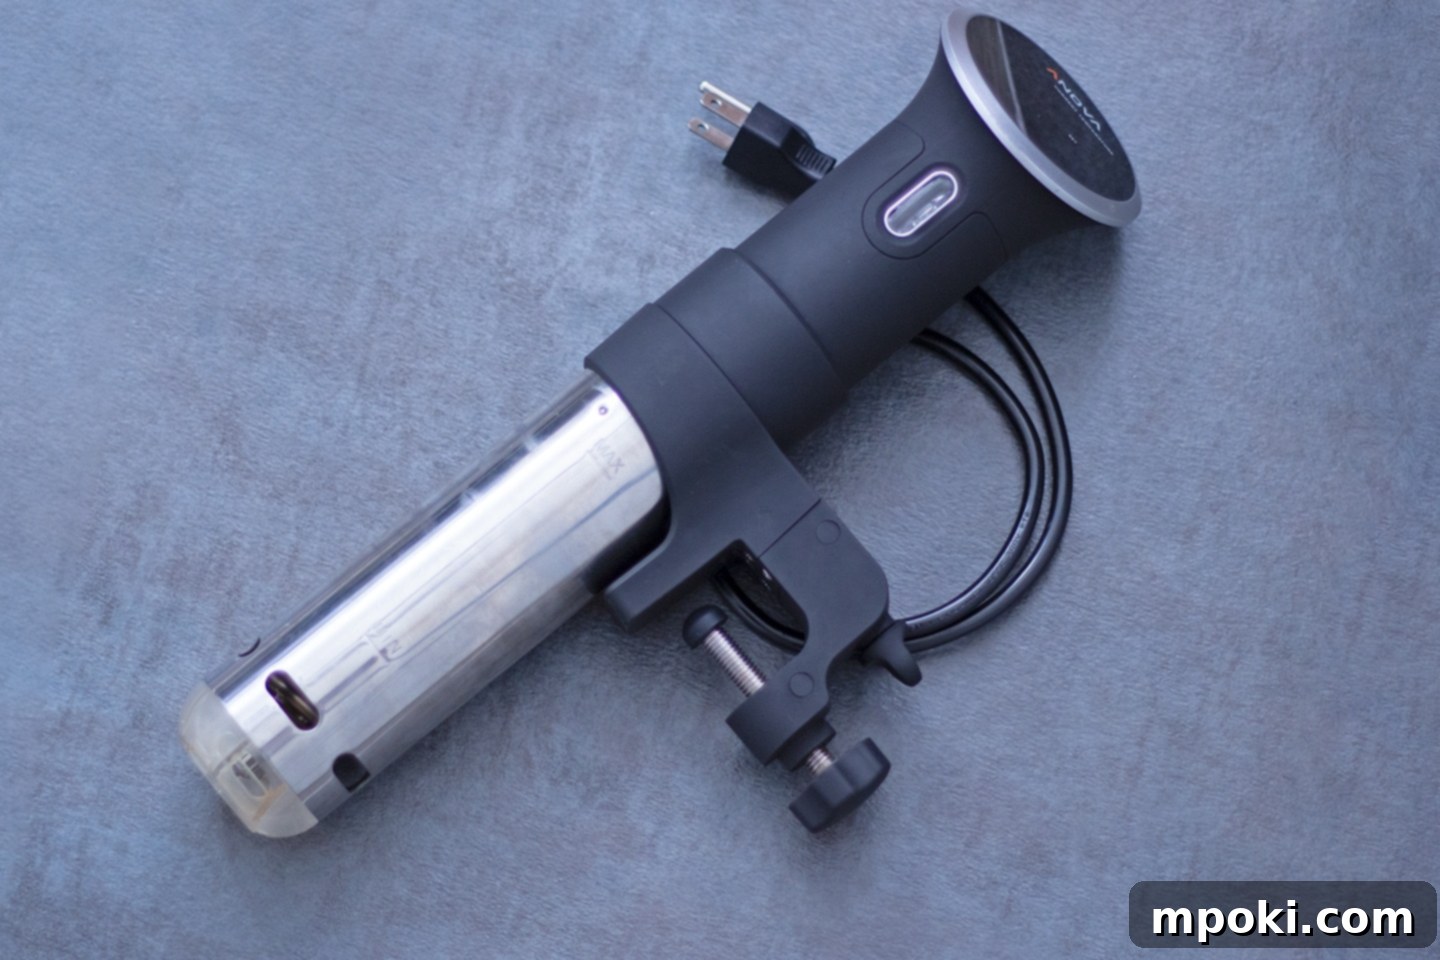
Many home cooks, including myself, discovered the magic of sous vide cooking thanks to innovative devices like the Anova Precision Cooker. This smart gadget opened up a world of possibilities, making restaurant-quality results achievable in any home kitchen. Let’s dive in and demystify sous vide together.
This Page Contains Affiliate Links. For more Information See My Disclosures here.
What is Sous Vide Cooking and Why Does it Matter?
At its core, sous vide is a French culinary technique that translates to “under vacuum.” It involves cooking food, typically sealed in a vacuum-sealed bag, in a precisely controlled water bath. This method stands apart from traditional cooking because it maintains an exact temperature throughout the entire cooking process. Unlike an oven or stovetop where temperatures fluctuate and create gradients, a sous vide water bath ensures that your food cooks evenly from edge to edge at a specific, desired temperature.
The beauty of this precision is that you can achieve levels of doneness that are simply impossible with other methods. Imagine a steak cooked to a perfect medium-rare from top to bottom, with no gray band on the edges. That’s the power of sous vide. Historically, this technique was exclusive to high-end restaurants due to the prohibitively expensive equipment. However, technological advancements have brought this gourmet method into the mainstream, making it accessible for home cooks eager to elevate their meals.
The Sous Vide Revolution: Anova and Beyond
The landscape of home cooking changed dramatically in 2013 when a pioneering company introduced the first affordable Sous Vide Cooker designed for everyday use. This innovation, launched via Kickstarter, quickly became one of the platform’s most successful food-related campaigns. Suddenly, home cooks had an accessible way to experience the benefits of precise temperature cooking. Following Anova’s success, many other brands entered the market, further solidifying sous vide’s place in modern kitchens and offering a variety of options for every budget and preference.
Understanding the Sous Vide Cooker: Your Immersion Circulator
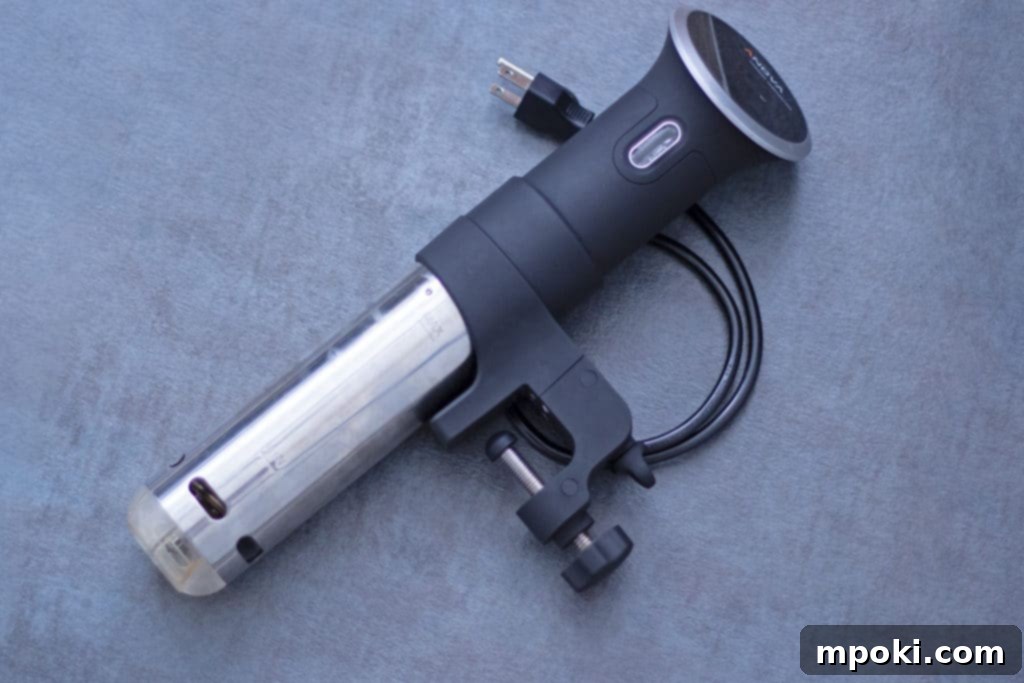
While commonly referred to as a “Sous Vide Cooker,” the technically accurate term for this device is an Immersion Circulator. This distinction highlights its two primary functions: heating and circulating water. An immersion circulator heats a water bath to a precise temperature and then continuously circulates that water. The circulation is crucial because it eliminates hot and cold spots within the bath, ensuring every part of your food is exposed to the exact same temperature throughout the cooking period. Without circulation, stagnant water would lead to uneven cooking, defeating the purpose of sous vide’s precision.
These devices typically feature a heating element, a pump or propeller for circulation, and a digital thermostat for setting and maintaining the desired temperature. Most modern circulators also include smart features like Bluetooth or Wi-Fi connectivity, allowing you to control and monitor your cook from a smartphone app, adding an extra layer of convenience to this already hands-off cooking method.
Sealing Your Food: The “Under Vacuum” Component
The second essential element of sous vide cooking, and the origin of its name, is sealing your food. This step removes air from around the food, allowing for efficient heat transfer from the water bath and preventing moisture loss. There are two primary methods for achieving an airtight seal:
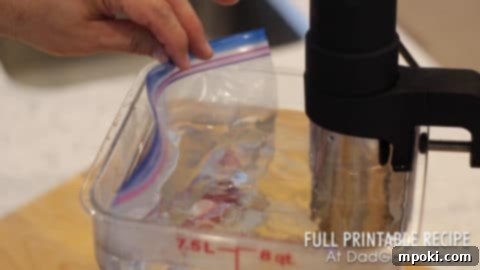
The **water displacement method** is an excellent option for beginners or for shorter cooks, often utilizing standard freezer-safe Ziploc bags. To use this technique, place your food in the bag, leaving a small opening at the top. Slowly lower the bag into a container of water, allowing the water pressure to push out the air around the food. Just before the opening submerges, seal the bag completely. While not as perfect as a vacuum sealer, this method works remarkably well for items like steaks, chicken breasts, and pork chops, where cooking times are relatively short.

For superior results, especially with longer cooking times or for meal prepping, a **vacuum sealer system** like the Foodsaver is highly recommended. These devices use specialized bags to create a near-perfect vacuum, removing almost all air and creating an incredibly strong, reliable seal. This method is virtually a requirement for dishes that cook for many hours, such as tough cuts of meat like roasts or ribs, as it prevents bags from floating and ensures consistent cooking without air pockets that could lead to uneven results or safety concerns.
Why Embrace Sous Vide? Unlocking Culinary Perfection
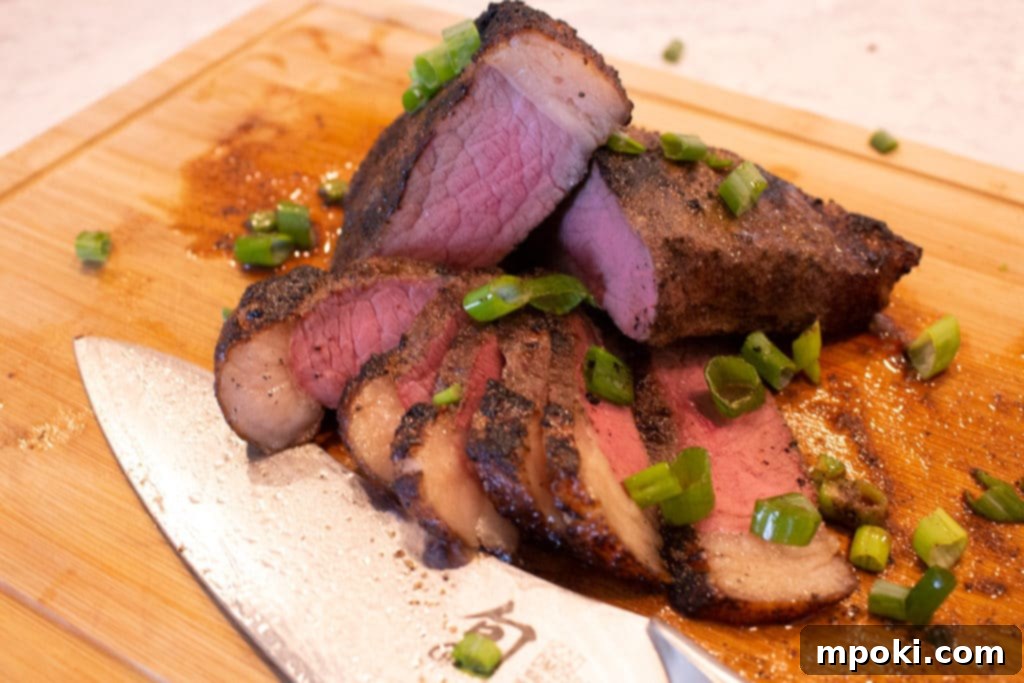
The benefits of sous vide cooking extend far beyond simple precision, offering a range of advantages that can revolutionize your kitchen experience:
- Unprecedented Consistency: With sous vide, you can virtually eliminate the risk of overcooking. If you set your water bath to 134°F (56.5°C) for a medium-rare steak, it is thermodynamically impossible for the steak to cook past 134°F. This means perfect doneness, every single time, without constant monitoring.
- Enhanced Flavor and Juiciness: Since food is sealed in a bag, all the natural juices, herbs, and marinades are trapped with the food. Unlike traditional methods where moisture and flavor often escape into the pan or oven, sous vide cooking ensures that these valuable components are reabsorbed, resulting in incredibly juicy, tender, and intensely flavorful dishes.
- Tenderizes Tough Cuts: Sous vide excels at transforming typically tough cuts of meat into incredibly tender, melt-in-your-mouth masterpieces. By cooking at lower temperatures for extended periods (sometimes 24-72 hours), collagen breaks down gently without drying out the meat, achieving tenderness that traditional methods struggle to replicate.
- Convenience and Flexibility: This method allows for a “set it and forget it” approach. You can start a cook, leave it for hours, and your food will be held at its perfect temperature until you’re ready to sear and serve. This flexibility is ideal for entertaining, meal prepping, or simply reducing stress during busy weeknights.
- Versatility: Sous vide isn’t just for meat. It’s fantastic for perfectly cooked fish, eggs with creamy yolks, vibrant and tender vegetables, infused oils, and even desserts like custards and cheesecakes. Its application is broad, making it a truly versatile tool in any kitchen.
Is Sous Vide Cooking Safe? Addressing Common Concerns
Food safety is paramount in any cooking method, and sous vide is no exception. While I’m not a food scientist, extensive research and guidelines from reputable culinary institutions confirm that sous vide cooking is safe when proper procedures are followed. For a detailed scientific explanation, I highly recommend this article from Cook’s Illustrated: Is Cooking Sous Vide Safe? Here are key safety points to keep in mind:
- Use Quality Bags: Ensure you use bags explicitly labeled as BPA-free and food-safe. Brands like Foodsaver and Ziploc freezer bags meet these standards, posing no health risk from plastic leaching into your food.
- Cook Above 130°F (54.4°C): For most proteins, cooking and holding food at 130°F or above for a sufficient duration will effectively pasteurize it, killing harmful bacteria such as salmonella and listeria. Be mindful of critical temperatures for specific foods; for example, poultry requires higher temperatures.
- Rapid Chilling for Storage: If you’re not planning to sear and serve your sous vide-cooked food immediately, it’s crucial to cool it rapidly to prevent bacterial growth. Submerge the sealed bag in an ice bath (half ice, half water) until the food reaches a safe refrigeration temperature (below 40°F / 4°C). This rapid cooling inhibits dormant bacteria spores from becoming active.
- Searing Kills Surface Bacteria: The final searing step isn’t just for developing a delicious crust and flavor. The high heat of a pan, grill, or broiler quickly kills any potential surface bacteria that might have survived or been introduced after the water bath, adding an extra layer of safety.
Choosing Your Sous Vide Equipment: Stick vs. All-in-One
When it comes to sous vide equipment, you’ll generally encounter two main categories:
- Immersion Circulators (Stick Version): This is by far the most popular and recommended type of sous vide cooker. These compact, wand-like devices clamp onto the side of any heat-safe pot or container you already own. They are more affordable, incredibly easy to store, and offer great flexibility since you can choose the size of your water bath. My personal preference and recommendation is a stick version, like the Anova Precision Cooker, for its performance and convenience.
- All-in-One Units: These appliances integrate the immersion circulator into a dedicated water bath vessel. While they offer a streamlined look, they are typically larger, more expensive, and require significant storage space. For most home cooks, the advantages of portability and affordability offered by stick circulators make them the superior choice, achieving identical cooking results without the bulk.
How to Sous Vide: Basic Steps for Beginners
These are the fundamental instructions for how to sous vide cook. The principles remain the same regardless of the brand or type of immersion circulator you own.
Keyword: how to, Sous Vide
Prep Time: 5 minutes
Cook Time: 10 minutes (refer to specific recipes for actual cooking times)
Author: Dad
Equipment
- Immersion Circulator
- Vessel to Cook In (e.g., large pot, polycarbonate container)
- Vacuum Sealer (optional, but recommended for long cooks)
Materials
- 1 Vacuum Bag or Ziploc Freezer Bag (per item/portion of food)
Instructions
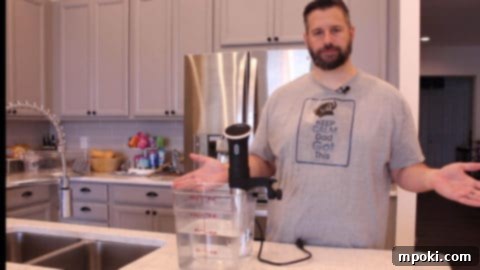
Prepare Your Water Bath: Fill a suitable pot or polycarbonate container with water. If you have an all-in-one unit (like some Instant Pot models with sous vide function), fill that vessel.

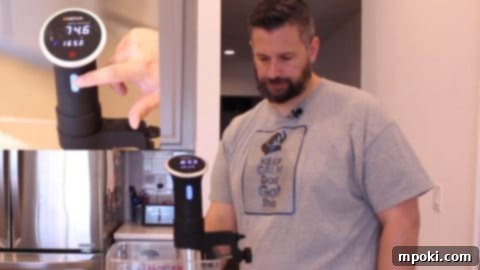
Attach Immersion Circulator: Secure your immersion circulator to the side of your chosen cooking vessel using its built-in clamp or magnetic system.

Set Temperature: Turn the unit on and set it to your desired cooking temperature. Consult a reliable sous vide recipe for the recommended temperature for your specific food item. Allow the water to come to temperature before adding food.

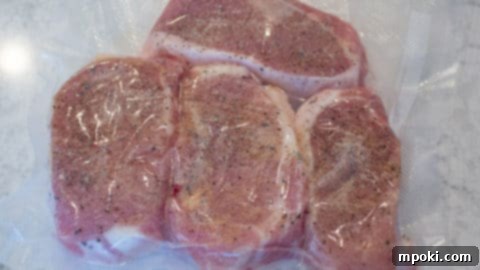
Seal the Food (Vacuum Sealer Method): Season your food as desired, then place it in a vacuum-sealable bag. Use a vacuum sealer to remove all air and create a strong, airtight seal.

Seal the Food (Water Displacement Method): If you don’t have a vacuum sealer, place your food in a high-quality Ziploc freezer bag. Slowly lower the bag into the water bath, allowing the water pressure to force the air out around the food. Seal the bag completely just before the opening goes underwater. This method is effective for shorter cooks. Always clip the sealed bag to the side of the container to prevent it from submerging entirely, which could compromise the seal.

Cook in Water Bath: Carefully place the sealed bag of food into the preheated water bath. Let it cook for the duration specified in your recipe. For foods that tend to float (e.g., pork, poultry), use a heavy object (like ceramic plates or specialized sous vide weights) inside the bag or a lid to keep it fully submerged. Any portion of food exposed to air will not cook properly and may pose a safety risk.
Remove from Bath: Once the cooking time is complete, carefully remove the food from the water bath.
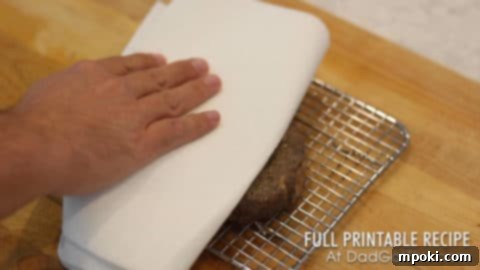
Pat Dry: Remove the food from its bag and pat it thoroughly dry with paper towels. This step is critical because excess moisture on the surface will hinder your ability to achieve a desirable crust during the searing process.

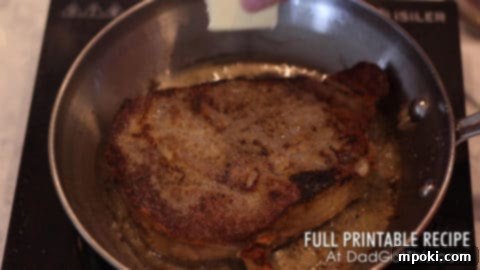
Sear for Finish: Immediately sear the food using your preferred method. Popular options include a blazing hot cast-iron pan, an outdoor grill, or a high-heat broiler. Sear for a minute or two per side until a beautiful golden-brown crust develops. This final step adds texture and deep flavor that is characteristic of expertly cooked food.

Video Tutorial

Tried this Tip?
Mention @DadGotThis or tag #DadGotThis!
Now Go Cook Something Amazing!
You now have a solid understanding of what sous vide cooking is, why it’s so effective, the equipment you’ll need, and the basic steps to get started. This innovative technique offers a consistent path to perfectly cooked, juicy, and flavorful food, transforming ordinary meals into extraordinary culinary experiences.
Don’t be intimidated by its gourmet reputation; sous vide is an incredibly forgiving method that yields impressive results even for novice cooks. Start with simple recipes, like a perfect medium-rare steak or tender chicken breast, and gradually explore the vast potential of this precision cooking method.
If you’re looking for more tips, tricks, and delicious sous vide recipes, be sure to check out the Dad Got This Youtube Channel! It’s packed with visual guides and inspiration to help you on your culinary journey.
Go check out our Youtube Channel for more!
