Crafting the Perfect Ca Phe Sua Da: Your Aeropress Guide to Vietnamese Iced Coffee
There are few beverages as invigorating and utterly delicious as Ca Phe Sua Da, Vietnam’s iconic iced coffee. This exquisite drink, a cherished favorite of coffee enthusiasts worldwide, marries the intense richness of strong brewed coffee with the creamy sweetness of condensed milk, all served over a generous amount of ice. It’s a symphony of flavors and textures – bold, sweet, and incredibly refreshing, especially on a warm day.
For many, including myself, Ca Phe Sua Da evokes fond memories. Its unique taste profile, characterized by a deep, dark roast coffee often enhanced with chicory, combined with the luxurious sweetness of condensed milk, creates an experience that’s both comforting and exhilarating. Traditionally, preparing this authentic Vietnamese iced coffee involves a special drip filter, known as a Phin. While this method yields fantastic results, it can be a rather slow and patient process, with the coffee slowly dripping, drop by precious drop.
This Page Contains Affiliate Links. For more Info See My Disclosures here.
Embracing Efficiency: The Aeropress for Ca Phe Sua Da
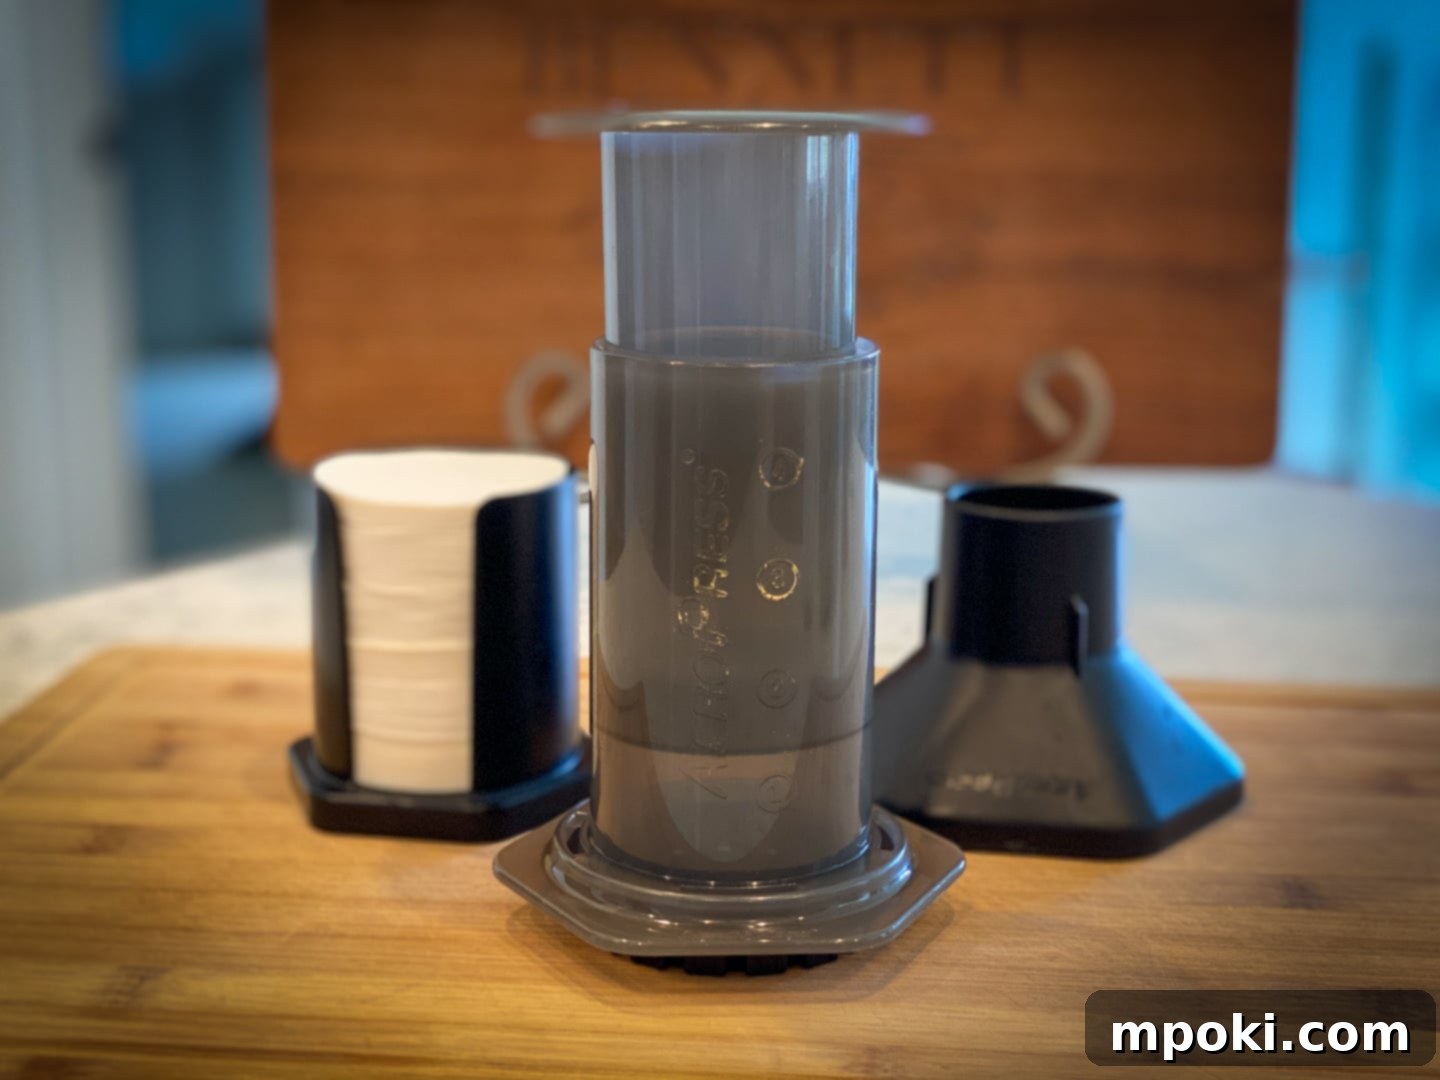
While I appreciate tradition, my impatient side often seeks efficient and equally effective alternatives in the kitchen. This is where one of my absolute favorite kitchen gadgets, the AeroPress, comes into play. This ingenious little device is a game-changer for coffee lovers, renowned for its ability to produce rich, concentrated coffee that rivals espresso, without the hefty price tag or complexity of a traditional espresso machine.

The AeroPress operates on a plunger-style mechanism, using air pressure to extract maximum flavor from coffee grounds in a very short time. This means you can create a potent, espresso-like shot quickly and consistently. Achieving a robust coffee concentrate is crucial for Ca Phe Sua Da, as it needs to stand up to the sweetness of the condensed milk and the dilution from the melting ice. The AeroPress excels at this, delivering a clean, strong brew with a beautiful crema, perfectly suited for this Vietnamese classic.
To ensure precision and achieve that perfect “espresso” shot with your AeroPress, a digital kitchen scale is an invaluable tool. It allows you to accurately measure coffee grounds and water, eliminating guesswork and ensuring repeatable, delicious results every time. Follow this recipe closely, and you’ll soon be enjoying your very own homemade Ca Phe Sua Da, quickly and easily.
Step 1: Selecting and Grinding Your Coffee Beans

The foundation of any great coffee drink lies in the quality and preparation of its beans. For Ca Phe Sua Da, a strong, bold coffee flavor is paramount. Ideally, opt for an espresso roast coffee. These beans are typically roasted longer, resulting in a deeper, more intense flavor profile that can hold its own against the sweetness of condensed milk.
If an espresso roast isn’t readily available, a dark roast coffee will also work wonderfully. The key is to select high-quality, fresh beans. Many traditional Vietnamese coffees, like Cafe Du Monde Coffee, often include robusta beans and chicory, which contribute to their distinctive strong and slightly earthy taste. While this is what many Vietnamese restaurants use with their traditional Phin drip filters, I haven’t specifically tested it with the AeroPress method described here. A good quality, freshly roasted dark arabica or a blend works exceptionally well.
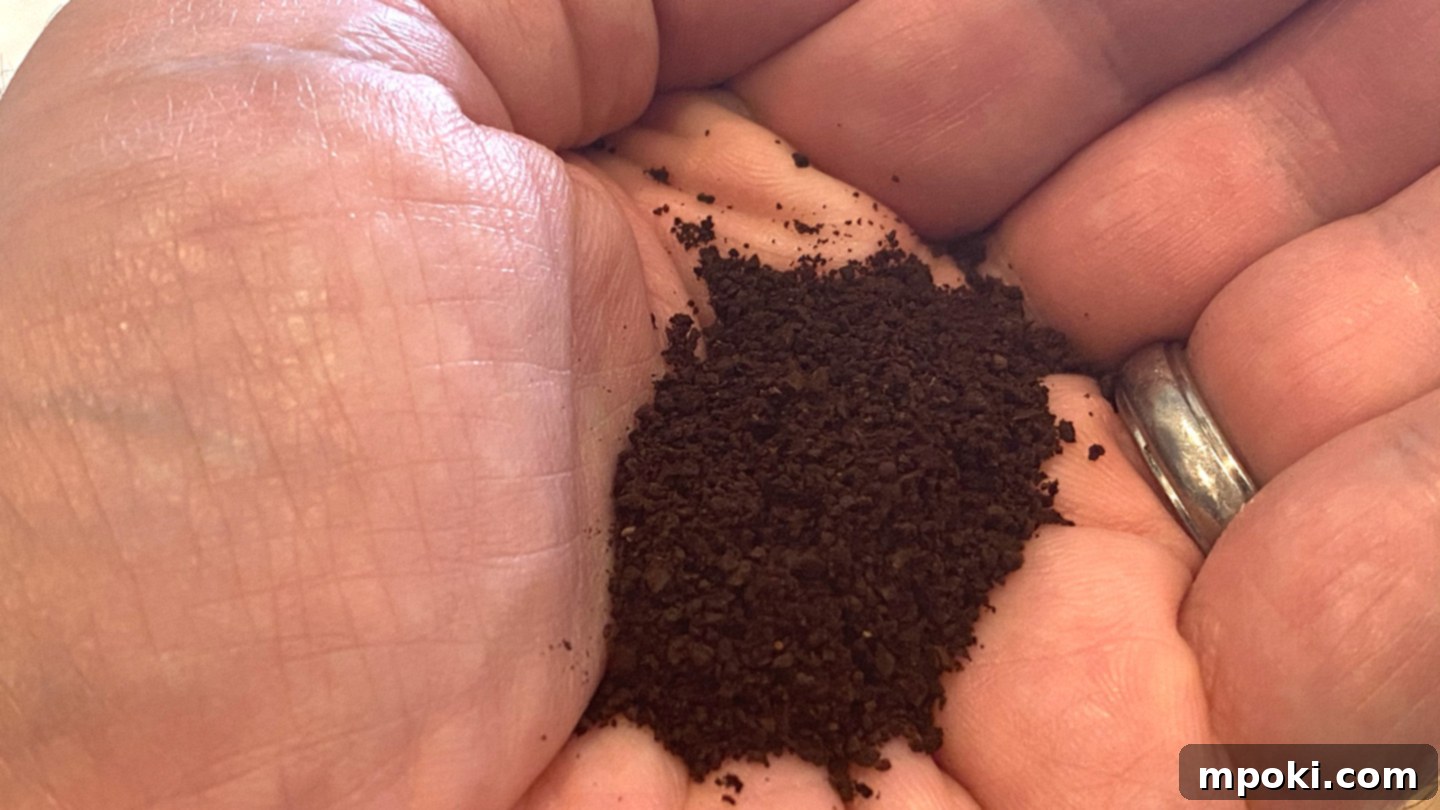
Once you’ve chosen your beans, it’s time to grind them. The grind size is critical for AeroPress brewing. You’ll want a very fine texture, similar to that of white granulated sugar, but not as fine as powdered sugar. A fine grind allows for optimal extraction in the short brewing time of the AeroPress, ensuring a concentrated and flavorful shot. If you have a burr grinder, setting it to a fine espresso-like setting should do the trick. Avoid blade grinders if possible, as they produce an inconsistent grind, which can lead to uneven extraction and a less desirable flavor.
Step 2: Preparing Your AeroPress for Brewing (Inverted Method)

The inverted method is widely favored by AeroPress enthusiasts, as it prevents coffee from dripping prematurely and allows for better control over the steeping process. To set up your AeroPress using this technique:
- Insert the plunger into the main body of the AeroPress, just enough to create a seal, but not so far that it’s difficult to remove later.
- Flip the AeroPress upside-down, so the plunger end is on the bottom, and place it securely on a flat, stable surface. For precise measurements, this surface should be your digital kitchen scale.
- Turn on your scale, set it to grams, and zero it out (tare).
- Carefully add 20 grams of your finely ground coffee into the inverted AeroPress chamber. Distribute the grounds evenly.
Step 3: Heating Your Water to the Ideal Temperature
Water temperature plays a crucial role in coffee extraction. For optimal flavor, you’re aiming for water that’s hot but not aggressively boiling. While some coffee aficionados use thermometers for precise measurements, a simple and effective method is to bring your water to a boil, then immediately remove it from the heat. This allows the water to cool slightly to the ideal brewing temperature, typically around 195-205°F (90-96°C), which is perfect for maximizing flavor without extracting bitterness.
Transfer this hot water into a container with an easy-pour spout, such as a gooseneck kettle or a small carafe. This will give you much better control when pouring, which is important for the next step of the brewing process.
Step 4: The Bloom – A Slow, Controlled Pour

With your coffee grounds ready and your water heated, it’s time for the “bloom” phase, a critical step that prepares the coffee for optimal extraction. First, reset your digital scale to zero. Then, begin pouring 50 grams of the hot water slowly and steadily over the coffee grounds. This pour should take approximately 10 to 15 seconds, allowing the water to saturate all the grounds evenly. You should observe the coffee grounds expanding and releasing gas, a process known as blooming. This bloom helps degas the coffee, ensuring a more even extraction and preventing sourness in your final brew. It also helps to bring the coffee grounds to the correct brewing temperature, further enhancing the steeping process.
Step 5: Agitating for Maximum Flavor
After the initial slow pour, it’s time to gently agitate the coffee mixture. Carefully swirl the AeroPress for about 30 seconds. This step is essential for ensuring that all the coffee grounds are thoroughly mixed with the hot water, allowing for uniform steeping and a more complete extraction of flavors. Proper agitation helps to break up any clumps and ensures that every particle of coffee contributes to the rich, concentrated brew needed for your Ca Phe Sua Da. Be gentle to avoid splashing and ensure the AeroPress remains stable on your scale or counter.
Step 6: The Plunge – Extracting Your Espresso-Like Concentrate

Now comes the exciting part: plunging the coffee! Before you flip the AeroPress, place a paper filter into the AeroPress cap and twist it securely onto the top of the AeroPress body (which is currently the bottom in the inverted setup). A slight rinse of the filter with hot water beforehand can help remove any paper taste, though many find it unnecessary with AeroPress filters.
Next, carefully flip the entire AeroPress unit over and place it directly on top of a sturdy cup. For safety, I highly recommend using a hard plastic or metal cup rather than glass. You will be applying a significant amount of downward pressure, and a glass cup, if it were to break, could pose a serious hazard. Position the AeroPress centrally on your cup to ensure stability.
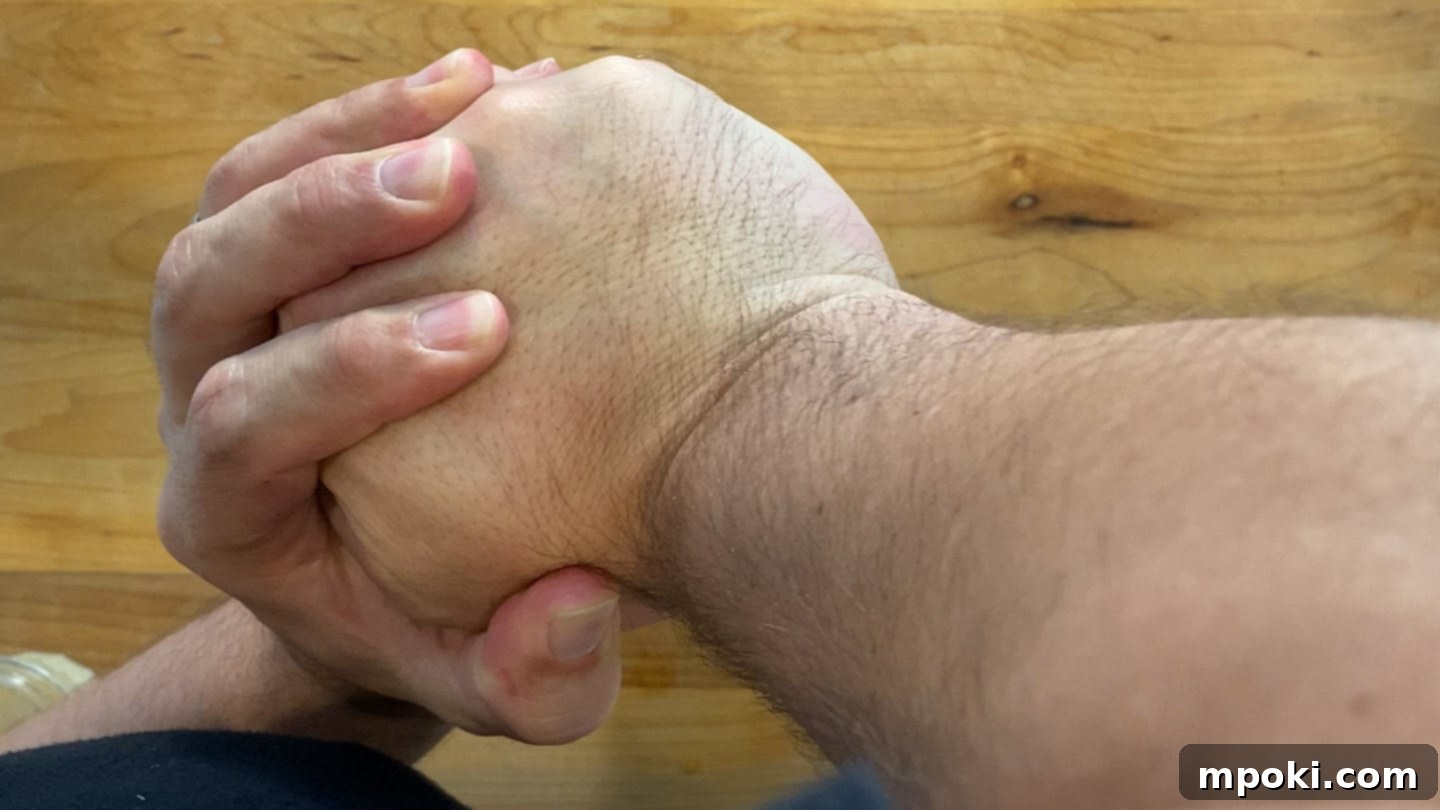
With a firm grip, begin to push the plunger down with steady, even pressure. Go slowly; a gradual plunge, typically taking 20-30 seconds, allows for optimal extraction and creates a smoother, richer coffee concentrate. You’ll feel resistance, which is normal and indicates proper extraction. Continue pushing until you hear a hissing sound, indicating that most of the liquid has been extracted. Once you’ve plunged as far as you can, hold it for a few more seconds to allow any remaining drips to fall into your cup. You should now have a concentrated, espresso-like shot of coffee, complete with a beautiful layer of crema on top.
Step 7: Double the Deliciousness – Repeat for the Second Shot
While it might seem tempting to try and brew a larger batch or a “double shot” in one go with the AeroPress, I’ve found that attempting to double the recipe often compromises the quality of the final brew. For some reason, the ideal extraction for the AeroPress works best with specific coffee-to-water ratios and plunger pressure. Trying to cram more coffee or water into a single brew cycle can lead to under-extraction or an uneven taste.
Therefore, for a truly exceptional Ca Phe Sua Da, I strongly recommend emptying your AeroPress, giving it a quick rinse, and repeating the entire brewing process (Steps 2 through 6) to create a second, fresh shot of concentrated coffee. This ensures you get two perfectly extracted, rich shots, which are absolutely essential for the robust flavor profile of this recipe. It adds a few extra minutes, but the superior taste is well worth the effort.
Step 8: Assembling and Enjoying Your Ca Phe Sua Da
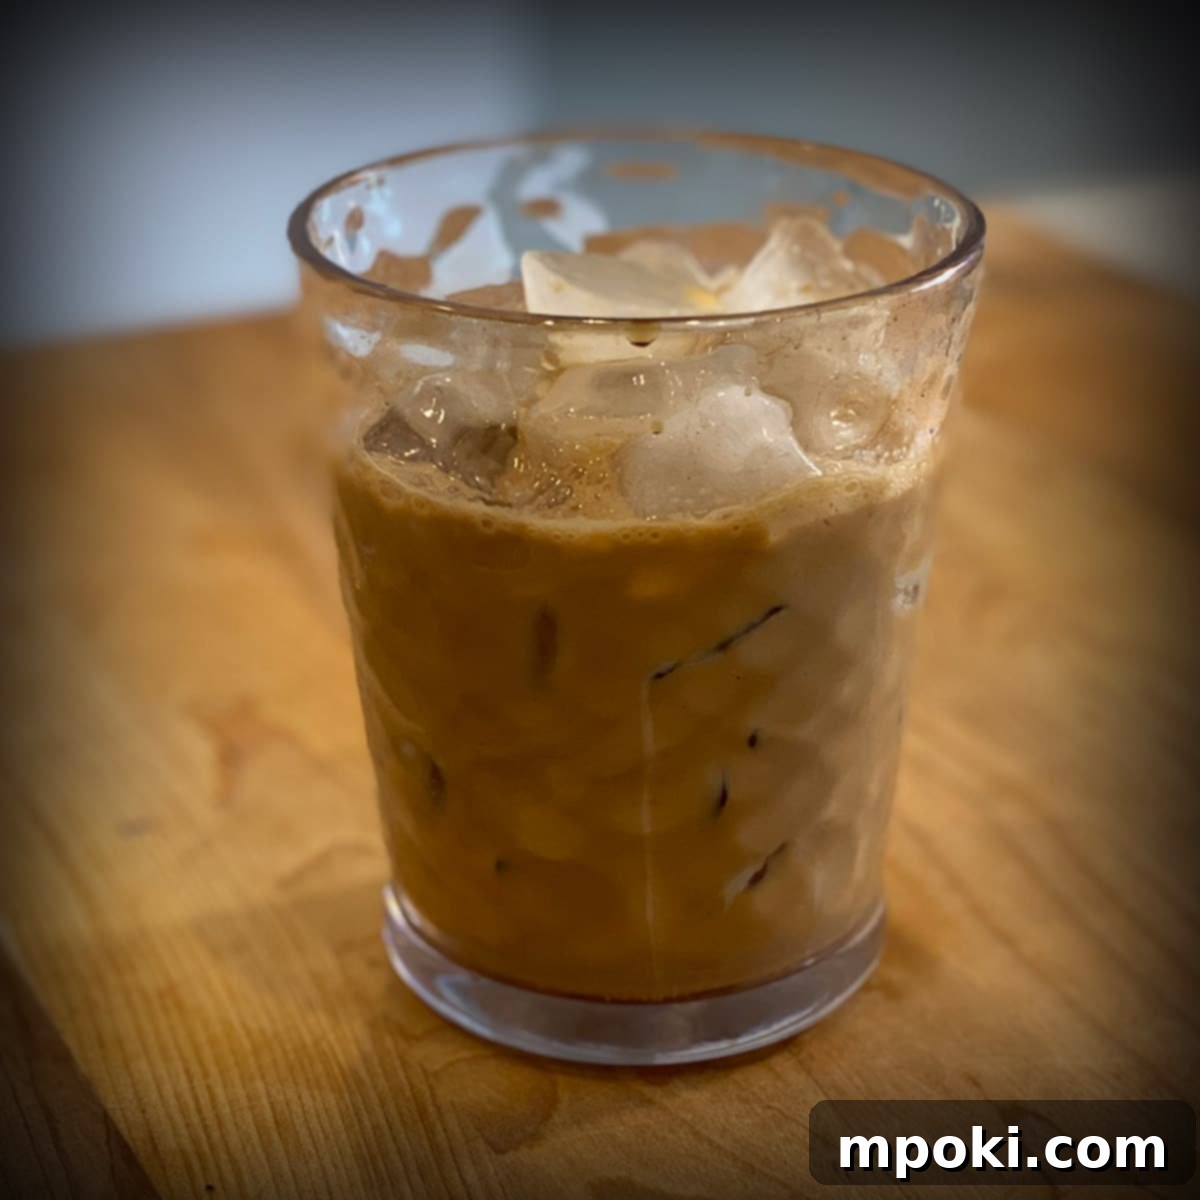
Now for the final, satisfying step of bringing your Vietnamese Iced Coffee to life! Grab a tall glass and fill it approximately three-quarters of the way with ice. The generous amount of ice is key to achieving that refreshing chill and characteristic dilution.
Next, spoon two tablespoons of sweetened condensed milk over the ice. The amount of condensed milk is highly customizable to your personal sweetness preference; this is a good starting point. Feel free to adjust it in future brews if you like it sweeter or less sweet. Pour your two freshly brewed, concentrated AeroPress coffee shots directly over the ice and sweetened condensed milk. The hot coffee will start to melt the ice and integrate with the milk, creating a mesmerizing swirl of dark coffee and creamy white.
Stir everything thoroughly until the condensed milk is fully dissolved and the coffee and milk are well combined. Let it sit for a moment to allow the ice to melt just a little, further chilling and slightly diluting the drink to perfection. Take a sip and savor the exquisite balance of strong coffee and sweet, creamy goodness. For those who enjoy a larger serving, like myself, consider using four concentrated AeroPress shots and 3-4 tablespoons of condensed milk in a bigger glass to create a truly substantial and satisfying Ca Phe Sua Da.

Ca Phe Sua Da (Vietnamese Iced Coffee) with an Aeropress
Print Recipe
Pin Recipe
Equipment
- Aeropress
- Coffee Grinder
Ingredients
- 40 G Finely ground coffee
- 2 tablespoon Sweetened condensed milk
- 100 G Boiled water
- Ice
Instructions
- Use an espresso roast coffee if you can, if not at least use a dark roast coffee. Grind it to a very fine texture, think of it like white sugar.
- Put the plunger in the main body of the Aeropress and then turn it upside-down on top of a digital kitchen scale. Turn on your scale, set it to grams, and zero it out. Add in 20G of the coffee.
- Bring some water up to a boil and then take it off the burner. Put it in a container that you can pour easily.
- Reset your digital scale to 0. Now pour in 50g of the hot water. Pour slowly, it should take about 10 seconds or longer. This helps with the temp and steeping process.
- You now need to carefully swirl the coffee in the Aeropress for about 30 seconds. This helps mix and steep the coffee.
- Now place a paper filter in the cap of the Aeropress and secure it to the top of the body. Place a cup on a stable surface. Use a hard plastic cup for safety. You will be applying a lot of pressure so using glass could be dangerous if it decided to break. Flip the Aeropress on top of the cup and push the plunger down with all your might. Go slowly as it will help the coffee extract as much as possible. When you think it’s done push a little more and then let it sit and drip for a few seconds.
- Empty, reload, and go again! You need at least two shots for this recipe.
- Fill a tall glass ¾ of the way with ice and pour two tablespoons of sweetened condensed over the ice. Now pour your 2 shots of espresso over the ice and sweetened condensed milk. Stir it up and let the ice melt a little bit.
- Sip and enjoy it!
Video
Nutrition
|
Carbohydrates: 22g
|
Protein: 3g
|
Fat: 3g
|
Saturated Fat: 2g
|
Cholesterol: 14mg
|
Sodium: 56mg
|
Potassium: 148mg
|
Sugar: 22g
|
Vitamin A: 107IU
|
Vitamin C: 1mg
|
Calcium: 114mg
Tried this recipe?
Mention @DadGotThis or tag #DadGotThis!
Explore More Coffee Delights: How About a Mocha Dalgona Coffee?
If you’re a fan of unique coffee experiences, you might also enjoy diving into the whipped coffee sensation that took the world by storm! I’ve even crafted a delicious mocha version of Dalgona coffee, which I actually prefer to the original. It’s another simple yet impressive coffee treat that’s perfect for home enjoyment. Why not try making both Ca Phe Sua Da and the Mocha Dalgona? Let me know which one becomes your favorite!
Connect and Discover More: Dad’s YouTube Channel
For more great cooking videos, coffee explorations, and food-related content, make sure to check out my YouTube channel. I share a variety of recipes, tips, and culinary adventures that are perfect for home cooks and food enthusiasts alike. Come join the community and explore new flavors with me!
