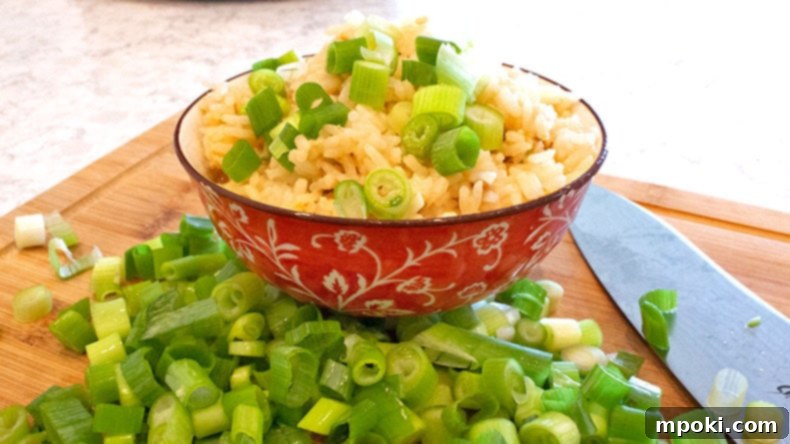
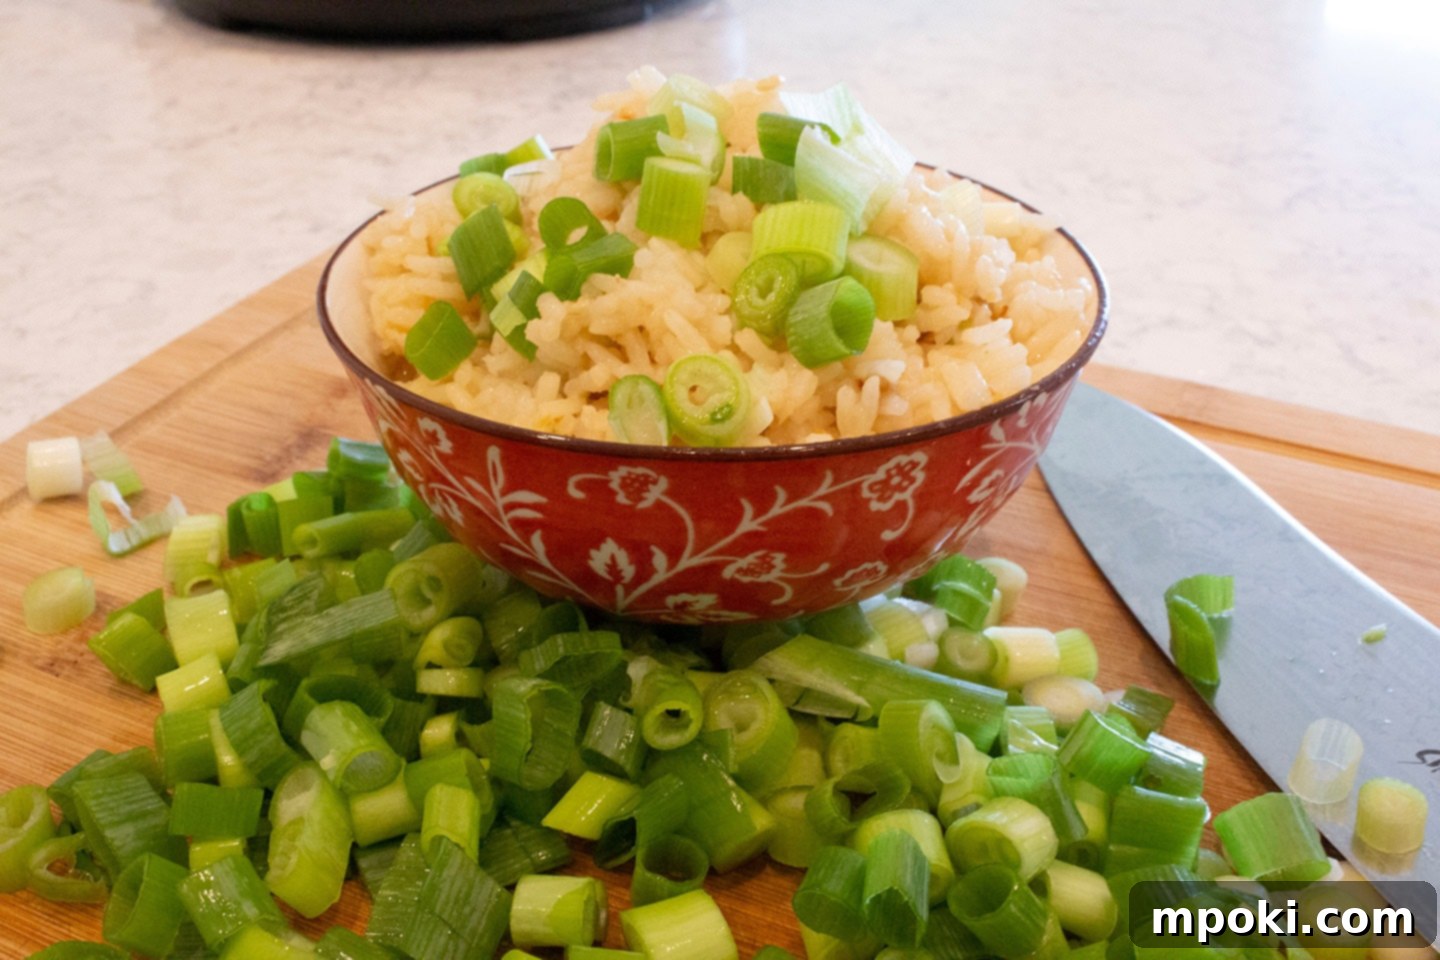
Unlock the Secret to the Best Filipino Garlic Fried Rice (Sinangag)
Prepare to elevate your rice game forever with this incredibly simple yet profoundly flavorful Filipino Garlic Fried Rice recipe, also known as Sinangag. Forget bland, basic white rice; once you taste the aromatic magic of this dish, there’s no turning back. It’s a cornerstone of Filipino cuisine, cherished for its quick preparation, versatility, and undeniable deliciousness. Whether you’re a seasoned chef or a kitchen novice, mastering this recipe will bring a staple of comfort and flavor to your table.
What makes Sinangag truly special? It’s the delightful interplay of crispy fried garlic, perfectly seasoned grains, and the satisfying texture that only day-old rice can provide. This isn’t just a side dish; it’s an experience, transforming humble leftover rice into a culinary star. Perfect for a hearty breakfast alongside a fried egg and your favorite protein, or as a robust accompaniment to any lunch or dinner, this garlic fried rice is a testament to the power of simple ingredients creating extraordinary taste. Get ready to impress your taste buds and everyone you cook for with this absolute winner!
PIN IT TO PINTEREST
Save this easy recipe to Pinterest.

This Page Contains Affiliate Links. For more Information See My Disclosures here.
The Foundation of Flavor: Why Day-Old Rice is Non-Negotiable for Perfect Fried Rice
The single most critical factor in achieving restaurant-quality garlic fried rice, and indeed most fried rice dishes, is starting with **day-old, refrigerated rice**. This isn’t merely a suggestion; it’s a fundamental rule that will make or break your Sinangag. Freshly cooked, warm rice contains too much moisture. When you attempt to fry it, this excess moisture creates steam, causing the rice grains to clump together, become mushy, and often stick to the pan. The result is a sticky, unappetizing mess rather than the distinct, slightly chewy grains characteristic of authentic fried rice.
By cooking your rice a day in advance and allowing it to cool completely in the refrigerator, you enable the grains to dry out. The starch molecules in the rice undergo a process called retrogradation, firming up and becoming less prone to stickiness. This pre-treatment ensures that when your rice hits the hot pan, it fries beautifully, separating into individual, perfectly textured grains that can absorb all the savory, garlicky goodness without turning into a sticky paste. So, plan ahead! Cook your rice the day before you intend to make this fantastic dish. Whether you use a traditional rice cooker, a pot on the stove, or an Instant Pot like I do, the crucial step is the overnight chill.
Once your rice is cooked, spread it out on a baking sheet or shallow dish to cool quickly, then transfer it to an airtight container and refrigerate it overnight, or even for up to two to three days. This simple step is your secret weapon for creating Sinangag that boasts perfectly separate, flavorful grains every single time.
Filipino Garlic Fried Rice (Sinangag): The Ultimate Versatile Dish
When I say this Filipino Garlic Fried Rice goes with everything, I truly mean it. Its robust garlic flavor and satisfying texture make it an incredibly adaptable side dish, capable of enhancing a wide array of meals, from humble breakfasts to elaborate dinners. Sinangag isn’t just rice; it’s a flavor canvas that complements almost any protein or vegetable you can imagine.
A Breakfast Staple That Will Change Your Mornings
For many Filipinos, Sinangag is synonymous with breakfast. It forms the foundation of classic Filipino breakfast plates, famously known as “Silog” meals (derived from Sinangag and Itlog, meaning egg). Imagine waking up to the irresistible aroma of sizzling garlic, then enjoying a warm plate of garlic fried rice paired with a perfectly fried egg, ideally with a runny yolk that mingles with the rice for an explosion of flavor. Add some crispy pan-fried spam, savory tocino (Filipino cured pork), or juicy longganisa (Filipino sausage), and you have a breakfast that’s both comforting and invigorating. The rich, savory notes of the garlic fried rice perfectly balance the saltiness and richness of these breakfast meats, creating a symphony of tastes that will energize your day.
Elevate Your Lunch and Dinner Plates
But the versatility of Sinangag extends far beyond breakfast. It’s an exceptional companion for lunch and dinner too. Whip up a batch to serve alongside your favorite Filipino Chicken Adobo. The tangy, savory, and slightly sweet notes of Adobo find their perfect match in the garlicky goodness of Sinangag, creating a truly authentic and satisfying Filipino meal experience. The rice perfectly soaks up the delicious adobo sauce, ensuring every bite is packed with flavor.
Don’t limit yourself to Filipino pairings! This garlic fried rice also shines next to Western dishes. I personally love it with my grilled steaks! The vibrant garlic acts as a fantastic counterpoint to the rich, beefy flavor of a perfectly cooked steak. It’s also excellent with roasted chicken, pan-seared fish, or even simple sautéed vegetables. Its ability to absorb and carry flavor makes it an indispensable component of countless meals. Once you realize how easy and delicious it is, you’ll find yourself making it for every occasion.
Let’s Craft the Perfect Sinangag: Your Step-by-Step Guide!
Ready to transform humble ingredients into a culinary masterpiece? Follow these simple steps to create a batch of the most addictive Filipino Garlic Fried Rice you’ve ever tasted. Remember, the key is preparation and understanding the role of each ingredient in building that signature flavor.

Ingredients You’ll Need:
To make 4 servings of this incredible Garlic Fried Rice, gather the following:
- 2 cups Day-Old Rice: Firm, cold, refrigerated rice is crucial for the best texture.
- 5 cloves Garlic: Fresh garlic is non-negotiable for maximum flavor.
- 1 tablespoon Garlic Powder: Adds an extra layer of garlic depth.
- 1 tablespoon Onion Powder: Enhances the savory base.
- 1 teaspoon Salt: Essential for seasoning and bringing out flavors.
- 3 stalks Green Onions: For freshness, a mild oniony bite, and vibrant color (optional but recommended).
- ¼ cup Water: Helps to steam and reheat the rice without drying it out.
- 2 tablespoons Vegetable Oil: Or any neutral cooking oil like canola or peanut oil.
Step-by-Step Instructions:
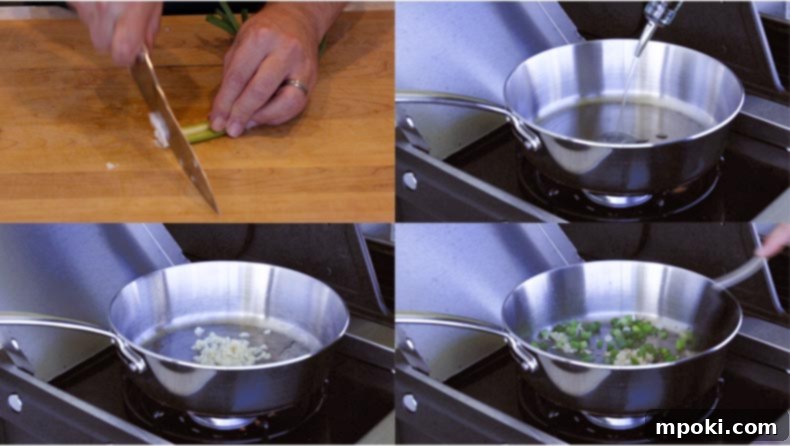
Gather up the ingredients needed to make Dad’s Filipino Garlic Fried Rice. Pound the garlic cloves with a knife, peel them and then dice up the garlic cloves.
- Prepare Your Garlic: Begin by mincing the garlic cloves. You can use a garlic press for speed, but finely dicing by hand after lightly smashing with the side of a knife offers a more rustic texture and releases maximum flavor.
- Prepare Green Onions: Finely chop your green onions, separating the white and light green parts from the darker green tops if you want to use the tops for garnish.
- Heat the Pan: Place a large, deep-sided skillet or wok over medium-high heat. Allow it to heat thoroughly before adding any oil.
- Add Oil: Pour in the vegetable oil, swirling it to coat the bottom of the pan.
- Fry the Garlic: Add the minced garlic to the hot oil. Cook, stirring frequently, until the garlic turns a light golden brown and becomes fragrant. This usually takes 1-2 minutes. Be careful not to burn it, as burnt garlic turns bitter.
- Add Green Onions: Stir in the chopped green onions (white and light green parts). Sauté for about 1 minute until they just begin to soften and become aromatic.
- Introduce the Rice: Add the cold, day-old rice to the pan. Use a spatula or wooden spoon to break up any clumps.
- Season the Rice: Sprinkle the garlic powder, onion powder, and salt evenly over the rice.
- Mix Thoroughly: Stir the rice, garlic, onion, and seasonings together diligently. Continue to stir-fry for 3-5 minutes, ensuring the rice is well combined with the aromatics and is heating through. The goal is to lightly toast the rice, giving it a slightly crisp exterior.
- Add Water and Steam: Pour the ¼ cup of water into the pan. Immediately stir well. The water will create steam, helping to rehydrate the rice slightly and ensure it heats evenly without drying out. Continue to stir until the water has evaporated and the rice is steaming hot.
- Taste and Adjust: Do a quick taste test. Adjust salt or add a dash more garlic powder if desired.
- Serve and Garnish: Your Filipino Garlic Fried Rice is now ready! Serve immediately, garnished with the dark green tops of the green onions if you saved them, or a sprinkle of toasted garlic bits for extra crunch and flavor. Enjoy every delicious spoonful!


Pro Tips for Achieving Sinangag Perfection
While the recipe is straightforward, a few expert tips can elevate your Filipino Garlic Fried Rice from good to absolutely unforgettable. Pay attention to these details, and you’ll be making Sinangag like a seasoned pro.
- Garlic Quality Matters: Always use fresh garlic cloves. Pre-minced garlic in a jar often lacks the pungent, vibrant flavor essential for authentic Sinangag. Invest a few extra minutes in mincing fresh garlic; it makes a world of difference.
- Don’t Overcrowd the Pan: If you’re making a large batch, consider cooking the rice in two smaller batches. Overcrowding the pan can lower the temperature, leading to steaming rather than frying, which can make the rice mushy.
- High Heat, Quick Cooking: Fried rice cooks best over medium-high to high heat. This ensures the rice gets a slight char and prevents it from sticking. Keep stirring constantly to prevent burning.
- Breaking Up Rice Clumps: Use the back of your spatula or a fork to gently break apart any stubborn rice clumps before adding them to the pan, or as they start to warm up in the oil. This ensures even cooking and distribution of flavor.
- Seasoning to Taste: The amounts for garlic powder, onion powder, and salt are a guideline. Taste your rice as you go and adjust the seasonings to your preference. Some might prefer a saltier kick, while others want more pronounced garlic notes.
- Add a Splash of Soy Sauce (Optional): While traditional Sinangag is primarily seasoned with salt and garlic, a small dash of soy sauce towards the end of cooking can add a deeper umami flavor, if you prefer. Start with just a teaspoon and adjust.
- Variations for Extra Flavor:
- Garlic Bits: For an extra garlic punch and crunch, you can fry an additional clove or two of thinly sliced garlic in a separate small pan until golden brown and crispy. Remove them from the oil and sprinkle them over the finished Sinangag as a garnish.
- Chili Flakes: For a touch of heat, a pinch of red chili flakes can be added along with the garlic.
- Butter: A small pat of butter can be added at the very end for extra richness and gloss.
- Storage and Reheating: Leftover Sinangag stores wonderfully in an airtight container in the refrigerator for up to 3-4 days. Reheat it in a pan with a tiny bit of oil or in the microwave until thoroughly warm.
Nutritional Insights
Understanding the nutritional value of your meals can be helpful. While homemade Sinangag is a fantastic way to enjoy a flavorful side, portion control can be a good idea, especially given its richness. The nutritional values provided are an estimate per serving for this recipe:
- Calories: Approximately 1673 kcal
- Carbohydrates: Approximately 316g
- Protein: Approximately 30g
- Fat: Approximately 30g
- Saturated Fat: Approximately 23g
- Sodium: Approximately 2366mg
- Potassium: Approximately 769mg
- Fiber: Approximately 8g
- Sugar: Approximately 2g
- Vitamin A: Approximately 359 IU
- Vitamin C: Approximately 13mg
- Calcium: Approximately 183mg
- Iron: Approximately 5mg
Please note that these values are estimates and can vary based on specific ingredients and preparation methods.
Watch How It’s Done: Video Tutorial
Sometimes, seeing is believing! For a visual guide to making this amazing Filipino Garlic Fried Rice, check out my step-by-step video tutorial. It covers all the essential techniques, from mincing garlic to perfectly stir-frying your rice, ensuring you achieve the best results.
 Tried this recipe?Mention @DadGotThis or tag #DadGotThis!
I genuinely hope you try this fantastic Filipino Garlic Fried Rice recipe. It’s truly a game-changer for anyone looking to add a burst of flavor and a touch of Filipino culinary tradition to their meals. Don’t hesitate to share your experiences, ask any questions, or offer your own tips in the comments section below. I love hearing about your kitchen adventures!
NOW GO COOK SOMETHING DELICIOUS!
