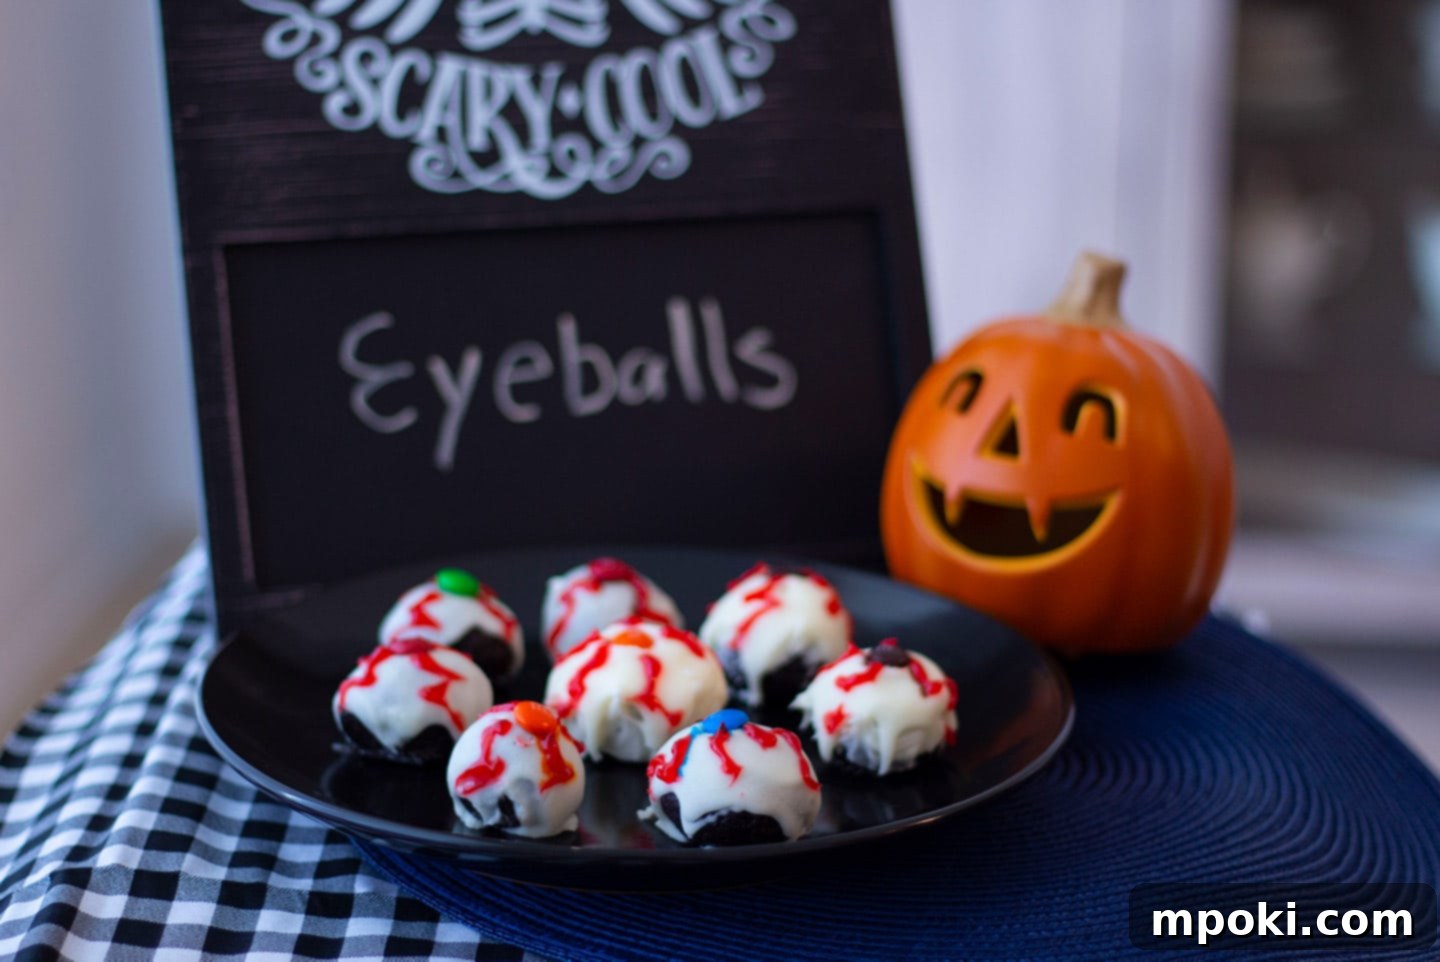
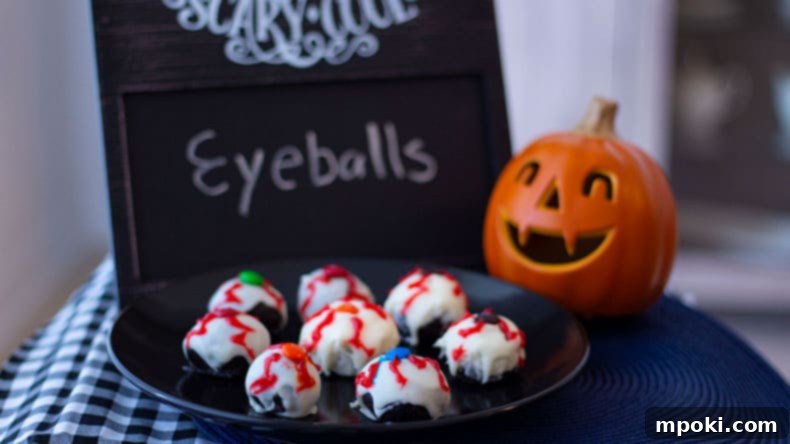
Halloween is a time for ghoulish delights, creative costumes, and, of course, delicious treats! When the idea of making something special and spooky with the kids popped up, the classic Oreo Truffle recipe immediately came to mind. Known for their rich, creamy texture and versatility, white Oreo Truffles have a natural resemblance to eyeballs – a perfect fit for a creepy-cute Halloween theme. However, a quick glance at the price tag for white chocolate, a staple in most truffle recipes, revealed a potential budget scare. Who knew white chocolate could be so pricey, especially when some argue it’s not even “real” chocolate?
Holidays, especially Halloween, bring out the inner child in all of us, and creating themed treats is a fantastic way to celebrate. But sometimes, enthusiasm can be dampened by unexpected costs. The desire to craft an unforgettable, spooky snack for the family was strong, but so was the commitment to smart spending. This led to a creative culinary pivot, a smart hack that delivers all the fun and flavor of traditional Oreo truffles without the hefty expense.
PIN IT TO PINTEREST
Save this easy recipe to Pinterest and share the spooky fun!
This page contains affiliate links. For more information, see my Disclosures here.
Crafting Spooktacular Halloween Treats on a Budget
The quest for the perfect Halloween treat often begins with a specific vision: something festive, delicious, and ideally, interactive for little hands. Oreo Truffle Eyeballs fit this description perfectly. The classic combination of crushed Oreo cookies and cream cheese, rolled into balls and coated in white, offers a canvas for imaginative decoration. The “eyeball” concept is simple yet incredibly effective for Halloween, turning a beloved dessert into a conversation starter.
However, many recipes for these delightful truffles traditionally call for a generous amount of white chocolate or candy melts for the outer coating. While undeniably effective, these ingredients can quickly inflate the cost of your homemade treats. Facing bags of white chocolate priced around $6 each, it was clear that a more economical solution was needed to keep the project fun and affordable.
The Ingenious Frosting Hack: Saving Money Without Sacrificing Fun
An Affordable Alternative to Pricey White Chocolate
Necessity is the mother of invention, and in the world of Halloween treats, it led to a brilliant cost-saving hack. Instead of reaching for expensive white chocolate, a simple trip down the baking aisle revealed an unsung hero: a jar of plain vanilla frosting. At a mere $1.50, it offered a significantly cheaper alternative with the potential to provide a smooth, white coating just like its pricier counterpart. This pivot not only saved money but also simplified the process, eliminating the need for tempering chocolate or dealing with precise melting temperatures.
Furthermore, realizing that an entire batch yielding 20 truffles might be excessive for a family treat and not a large party, the recipe was cleverly halved. This adjustment ensures less waste and provides a perfect amount for a smaller gathering or just for the immediate family to enjoy. Of course, if you are hosting a grand Halloween bash or have a particularly large family, feel free to double the ingredients and make a full batch – the method remains just as easy.
Gathering Your Budget-Friendly Ingredients
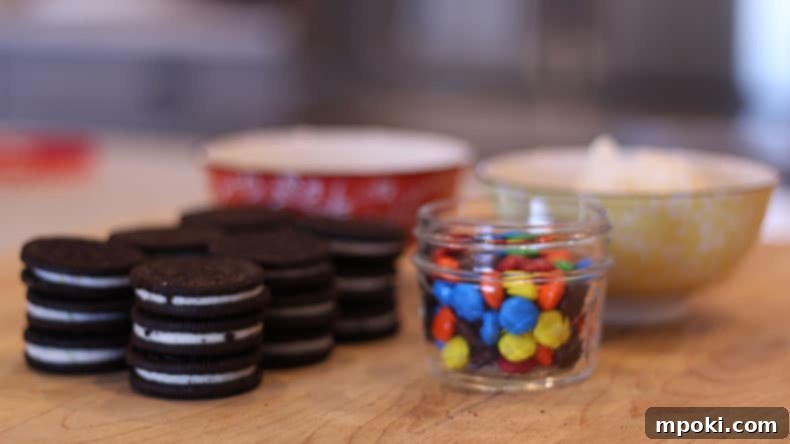
Making these spooky eyeball desserts is surprisingly affordable, especially with our clever frosting hack. For a full batch designed to make approximately 20 truffles, you’ll need just a few key items:
- 1 Package of Oreos: Around $2.98. The star of our show, providing the rich chocolatey base.
- 1 Jar of Vanilla Frosting: Approximately $1.50. Our secret weapon for a smooth, white coating without the high cost of white chocolate.
- 1 Package of Cream Cheese: About $1.99. This binds the crushed Oreos into a delightful, rich dough.
- 1 Bag of M&M’s: Roughly $0.88. These vibrant candies form the perfect “pupil” for our edible eyeballs.
A Closer Look at the Cost Savings
By opting for vanilla frosting instead of white chocolate, the total cost for enough ingredients to make 20 truffles comes in at approximately $7.35. This is a remarkable saving, as it’s only about $1.35 more than the price of a single small bag of white chocolate that was initially considered and skipped. Not only do you get a fantastic batch of spooky treats, but you also likely have leftover Oreos for snacking, some cream cheese for your morning bagel, and a few M&M’s to enjoy throughout the day. It’s a win-win situation for both your taste buds and your wallet.
Is This Oreo Truffle Recipe Difficult? Absolutely Not!
One of the best aspects of this recipe is its sheer simplicity. It’s an incredibly straightforward no-bake dessert that almost anyone can master, even those new to the kitchen. The key piece of equipment that makes this recipe a breeze is a Food Processor. If you have one, you’re halfway to spooky truffle success. Without a food processor, you’d need to manually crush and mash the ingredients, which can be a bit of a workout, but certainly not impossible. A sturdy rolling pin and a large mixing bowl can serve as excellent substitutes if a food processor isn’t available.
Step-by-Step: How to Make Your Oreo Eyeball Truffles
Step 1: Create Your Oreo Crumbs
The foundation of any great Oreo truffle is perfectly crushed cookies. Begin by placing all your Oreo cookies into the Food Processor. Pulse them repeatedly until they transform into fine, even crumbs. You’re looking for a texture similar to coarse sand – no large chunks of cookies should remain, as this ensures a smooth truffle consistency.
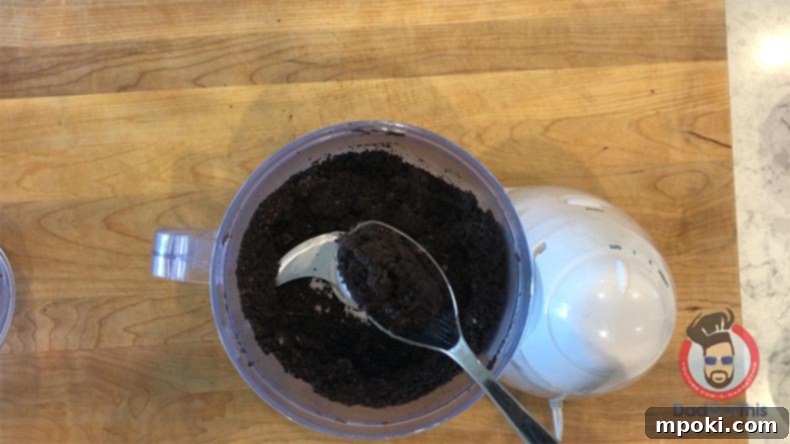
Step 2: Form the Truffle Dough by Adding Cream Cheese
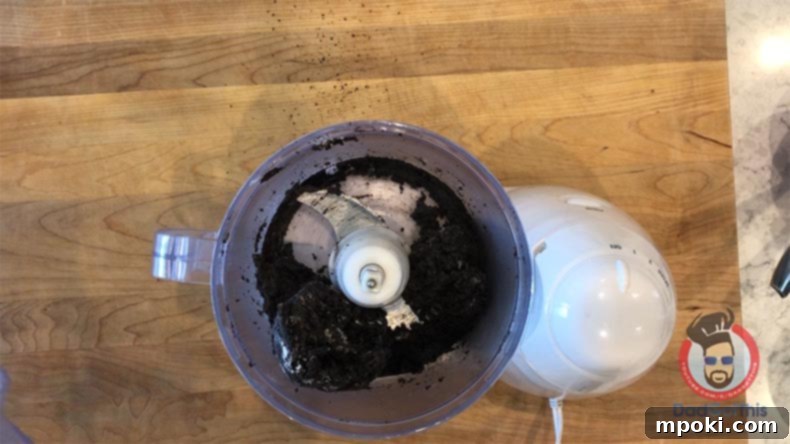
Once you have your finely crushed Oreo crumbs, it’s time to introduce the binding agent: cream cheese. Add your softened cream cheese to the food processor with the Oreo crumbs. For best results, ensure your cream cheese is at room temperature; this makes it much easier to blend evenly with the crumbs. Pulse the mixture again until it comes together to form a thick, cohesive “dough.” You’ll know it’s ready when the food processor motor begins to struggle, indicating that the mixture has become dense and sticky enough to stop turning freely.
Step 3: Prepare for Chilling – Wax Paper is Your Best Friend
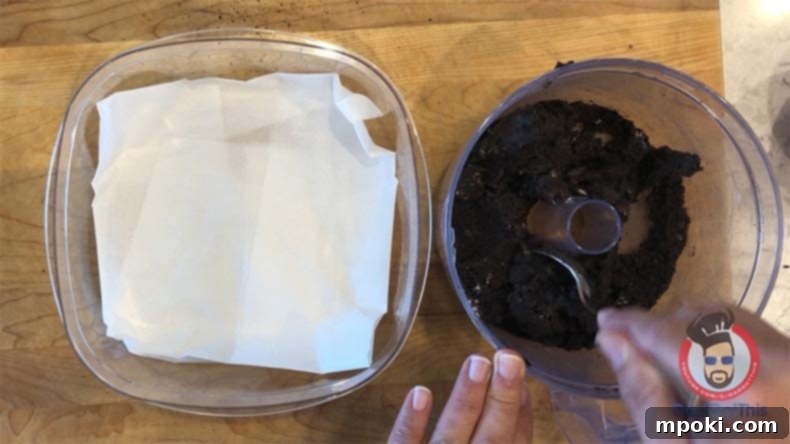
Before you start rolling, prepare your chilling surface. Line a container or a cookie sheet with wax paper. This crucial step prevents your truffles from sticking to the surface, making them incredibly easy to remove once chilled. Ensure the container or sheet you choose can comfortably fit into your freezer. Adequate spacing between the truffles on the wax paper is also important to prevent them from freezing together.
Step 4: Get Your Hands Dirty – Roll Your “Eyeballs”
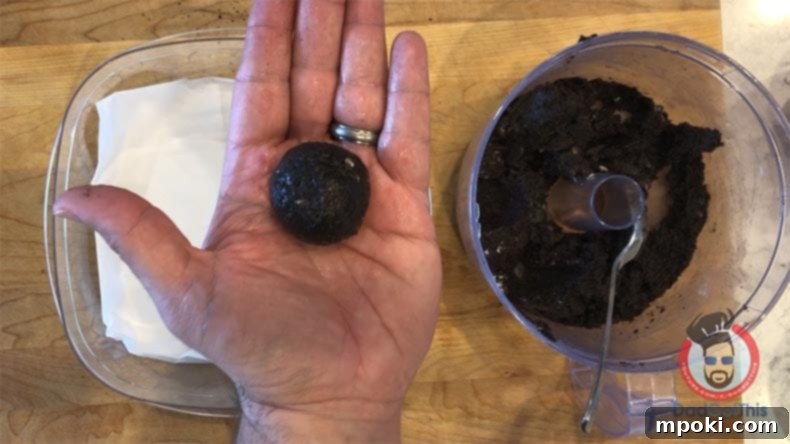
Now for the fun, hands-on part! Grab a kitchen spoon and scoop out a consistent amount of the Oreo dough. Using the palms of your hands, gently roll the dough into smooth, round balls. Aim for a uniform size, roughly 1 to 1.5 inches in diameter, to ensure even chilling and a consistent “eyeball” appearance. Place each rolled ball onto the prepared wax paper, making sure to leave ample space between them. For a halved recipe, you should yield around 10 perfectly formed “eyeballs.” Once all the dough is rolled, place the tray of Oreo truffle balls into the freezer for at least 30 minutes. This chilling time is essential for the truffles to firm up, making them easier to handle and coat.
Step 5: The Frosting Hack for Perfectly White Eyes
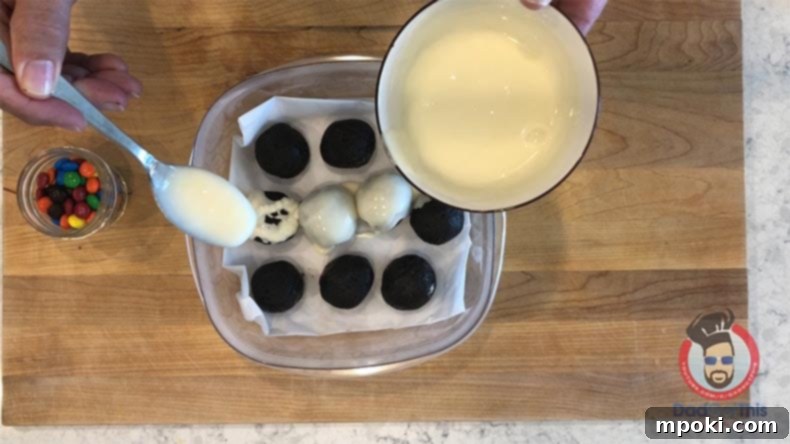
After 30 minutes, retrieve your firm Oreo truffle balls from the freezer. Now, here’s where our budget-friendly hack shines. Take your jar of vanilla frosting and microwave it for approximately 15 seconds. The goal is to achieve a “pourable” consistency, similar to a thick glaze. Stir the frosting thoroughly. If it’s still too thick to pour smoothly, continue microwaving in 5-second intervals, stirring after each, until you reach the desired consistency. Conversely, if it becomes too thin, simply add a spoonful or two of fresh frosting from the jar and stir to thicken it slightly. Once the frosting is perfect, carefully pour it over each chilled Oreo truffle ball. The frosting will naturally coat the balls, forming a nice, even, and perfectly white “eyeball” surface.
Step 6: Bring Your Eyeballs to Life with M&M’s
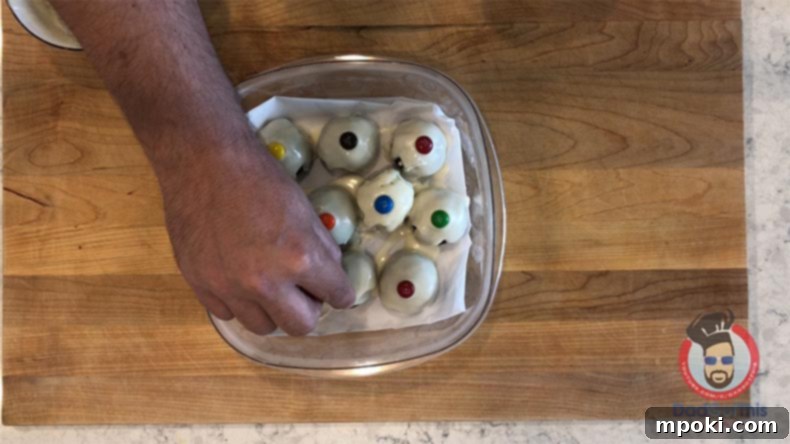
Your white truffles are now ready for their defining feature! While the frosting is still wet, quickly grab your M&M’s candies. Carefully place one M&M in the very center of each truffle. The M&M will adhere to the soft frosting, instantly transforming your white ball into a convincing, spooky eyeball! The vibrant colors of the M&M’s add a playful contrast to the white frosting, making them truly pop. For optimal setting, return the decorated eyeballs to the freezer for another 30 minutes to firm up the frosting and set the M&M’s.
Optional: Add Ghoulish Veins for Extra Spookiness
If you want to take the spooky factor up a notch, grab a tube of red gel decorating icing. Once the M&M’s are set and the frosting is firm, you can meticulously draw thin, squiggly “veins” radiating from the M&M pupil across the white surface of the truffle. This small detail adds a truly ghoulish and realistic touch to your eyeball treats, sure to impress any Halloween enthusiast. Let the gel icing set for a few minutes before serving or storing.
Easy, Cheap, Spooky, and Delicious!
We hope you’ve enjoyed learning how to make these incredibly easy, budget-friendly, spooky, and utterly delicious Oreo Truffle Eyeballs. This recipe offers a fantastic way to celebrate Halloween or any occasion without breaking the bank. Don’t let the idea of “only” having 10 truffles deter you; these treats are incredibly rich and satisfying. One or two of these decadent “eyeballs” is often more than enough to curb a sweet craving. Their dense, creamy texture means a little goes a long way, making them perfect for sharing.
Moreover, the versatility of these Oreo truffles extends far beyond Halloween. Imagine them with red and green M&M’s for a festive Christmas treat, adorned with a small heart for Valentine’s Day, or simply enjoyed plain because sometimes, a simple, delicious indulgence is all you need. This recipe is a keeper for all seasons, proving that creative baking doesn’t have to be complicated or expensive.
Oreo Truffle Recipe – Spooky Oreo Eyeballs
Rate this recipe: 5 from 1 vote
Print Recipe |
Pin Recipe |
Rate this Recipe
Equipment
- Food Processor
Ingredients (for approximately 10 truffles)
- 18 Oreo Cookies (about half a standard package)
- 4 ounces Cream Cheese (softened, at room temperature)
- 8 ounces Vanilla Frosting (half a standard jar)
- 10 M&M Candies (red or preferred color for pupils)
- 1 Red Gel Decorating Tube (optional, for veins)
Instructions
- Place the Oreo cookies in a food processor and pulse until they are fine crumbs.
- Add the 4 ounces of softened cream cheese and pulse until a thick “dough” forms.
- Line a container or a cookie sheet with wax paper. Ensure it will fit in your freezer.
- Using a large kitchen spoon, scoop out enough dough to form a ball. Roll the dough into smooth, round balls using your hands. Place the balls on the wax paper, leaving space between each.
- Place the rolled truffles in the freezer for 30 minutes to firm up.
- After 30 minutes, microwave the vanilla frosting for 15 seconds. Stir the frosting until it reaches a “pourable” consistency. If too thick, microwave in 5-second intervals; if too thin, add a little more frosting from the jar.
- Ensure the “eyeballs” are spaced far enough apart on the wax paper. Then, carefully pour the melted frosting over each truffle, ensuring a complete and even coat.
- While the frosting is still wet, place one M&M candy in the center of each ball to create the “pupil,” making it an official “eyeball.”
- Place them in the freezer again for another 30 minutes to allow the frosting and M&M’s to set.
- Optional: For extra detail, use a red gel decorating tube to draw small veins on the white frosting, radiating from the M&M. Serve immediately or store in the refrigerator. If stored, the M&M colors may fade slightly, which can actually add to the spooky effect!
Video Tutorial
Nutrition Information (Per Serving, based on 5 servings from 10 truffles)
Calories: 480kcal
|
Carbohydrates: 64g
|
Protein: 4g
|
Fat: 24g
|
Saturated Fat: 9g
|
Cholesterol: 25mg
|
Sodium: 356mg
|
Potassium: 140mg
|
Fiber: 1g
|
Sugar: 48g
|
Vitamin A: 305IU
|
Calcium: 34mg
|
Iron: 4mg

Tried this recipe?
Mention @DadGotThis or tag #DadGotThis!
Don’t miss out on more easy recipes and fun! Subscribe to our YouTube Channel!
For more delicious and simple recipes, along with helpful tips and family-friendly ideas, be sure to visit our YouTube channel and hit that subscribe button! You won’t want to miss any new episodes or seasonal treats that are perfect for making with your loved ones.
