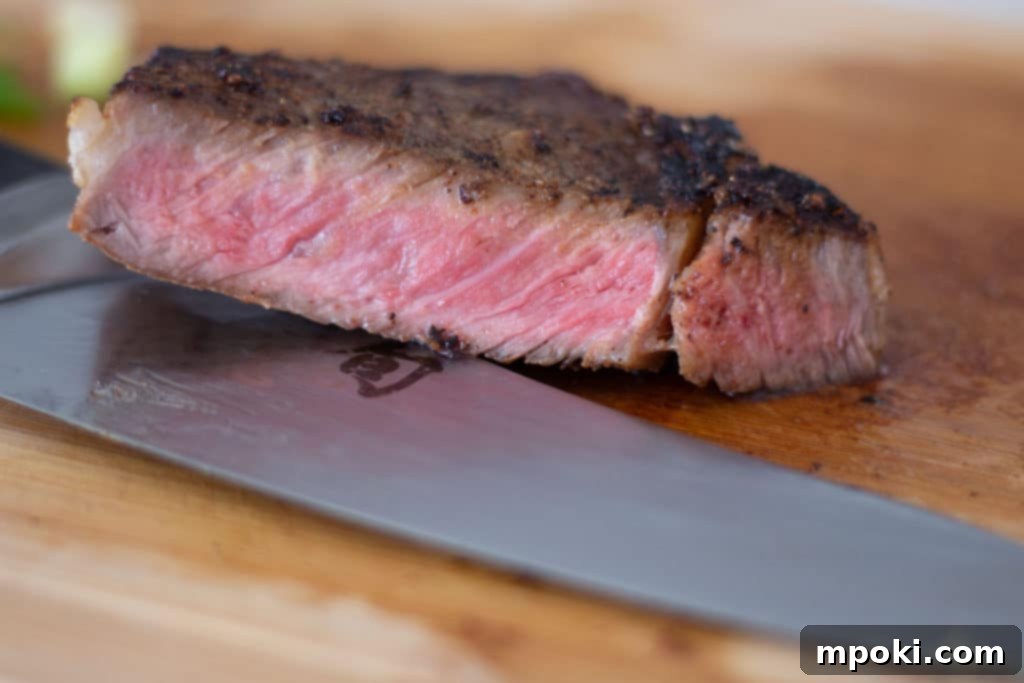
Mastering the Art of Steak: The Ultimate Reverse Sear Guide for a Perfect Finish
Dreaming of a steak with a perfectly caramelized crust and an incredibly tender, juicy interior, cooked to your precise preferred doneness? Many believe you need specialized equipment or a culinary degree to achieve such results, but that couldn’t be further from the truth. If all you have at your disposal is a standard oven and a trusty pan, you’re perfectly equipped to cook an extraordinary steak. According to Dad, the seasoned chef behind this guide, the answer lies in the highly effective method known as the reverse sear.
Cooking steak is often surrounded by myths and misconceptions that can lead to disappointing results. From the long-standing belief in “sealing in juices” to the futility of letting steak come to “room temperature,” misinformation abounds. In this comprehensive guide, we will systematically dismantle these common myths and then walk you through every step of the reverse sear process. Prepare to transform your steak-cooking game and impress everyone at your dinner table with consistently perfect, restaurant-quality results.
This Page Contains Affiliate Links. For more Info See My Disclosures here.
What is Reverse Searing and Why Is It the Best Method for Juicy, Tender Steak?
The traditional approach to cooking steak typically involves searing the meat first over high heat, often with the mistaken belief that this “locks in” the juices. After achieving an initial crust, the steak is then transferred to a hot oven to finish cooking to the desired internal temperature. While this method can yield acceptable results, it often leads to a grey band of overcooked meat just beneath the surface, leaving a smaller, less uniform pink center.
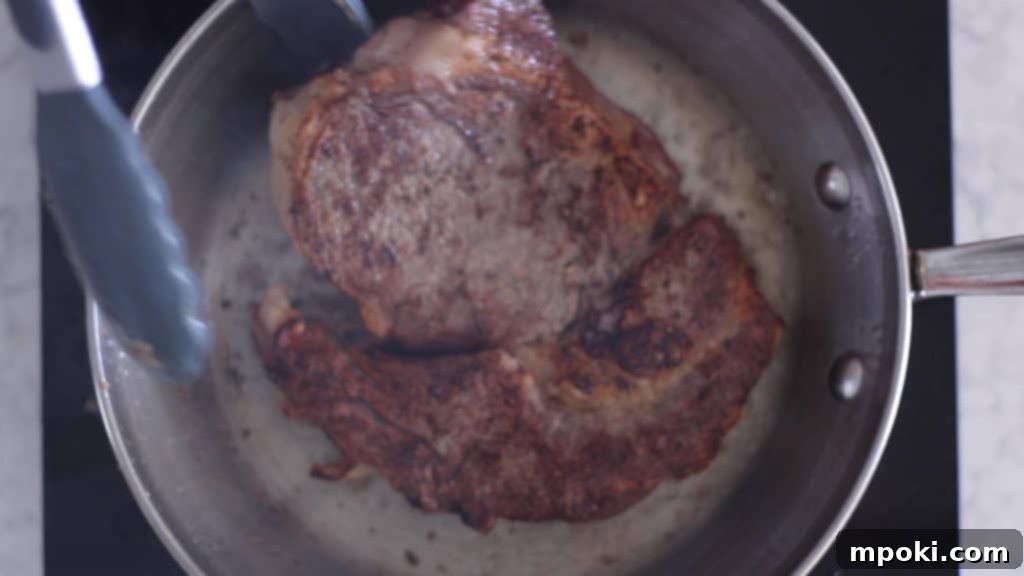
The reverse sear method ingeniously flips this process on its head, addressing the shortcomings of the traditional approach. Instead of searing first, you begin by slowly bringing the steak to near its target internal temperature in a low-temperature oven. This gentle, gradual cooking allows the heat to penetrate the meat much more evenly, from edge to edge. By cooking it “low and slow,” the muscle fibers relax, and the connective tissues and fats have ample time to render and break down, resulting in an exceptionally tender and uniformly cooked steak with virtually no grey band.
Once the steak has reached its optimal pre-sear temperature, typically about 10 degrees Fahrenheit below your final desired doneness, it is then transferred to a screaming hot pan for a quick, intense sear. This final step is where the magic of the Maillard reaction occurs, creating that beautiful, deeply browned, and incredibly flavorful crust that is the hallmark of a perfectly cooked steak. The brief high-heat exposure after the slow roast ensures a magnificent exterior without overcooking the delicate, evenly pink interior that you painstakingly achieved in the oven.
The key to success with the reverse sear is precision with temperature. By pulling the steak out of the oven approximately 10 degrees shy of your final serving temperature, you leave just enough room for the searing process to build that gorgeous crust without pushing the internal temperature beyond your desired doneness. This meticulous control is what consistently produces a steak that is tender, juicy, and perfectly cooked from one side to the other.
Step-by-Step Guide: How to Reverse Sear a Steak to Perfection
Achieving a restaurant-quality steak at home is easier than you think with the reverse sear method. Follow these detailed steps to ensure a tender, juicy, and perfectly crusted steak every time.
1. Preparation: Seasoning Your Steak for Maximum Flavor
- Preheat Oven: Begin by preheating your oven to a precise 250°F (120°C). This low temperature is crucial for the slow, even cooking that defines the reverse sear.
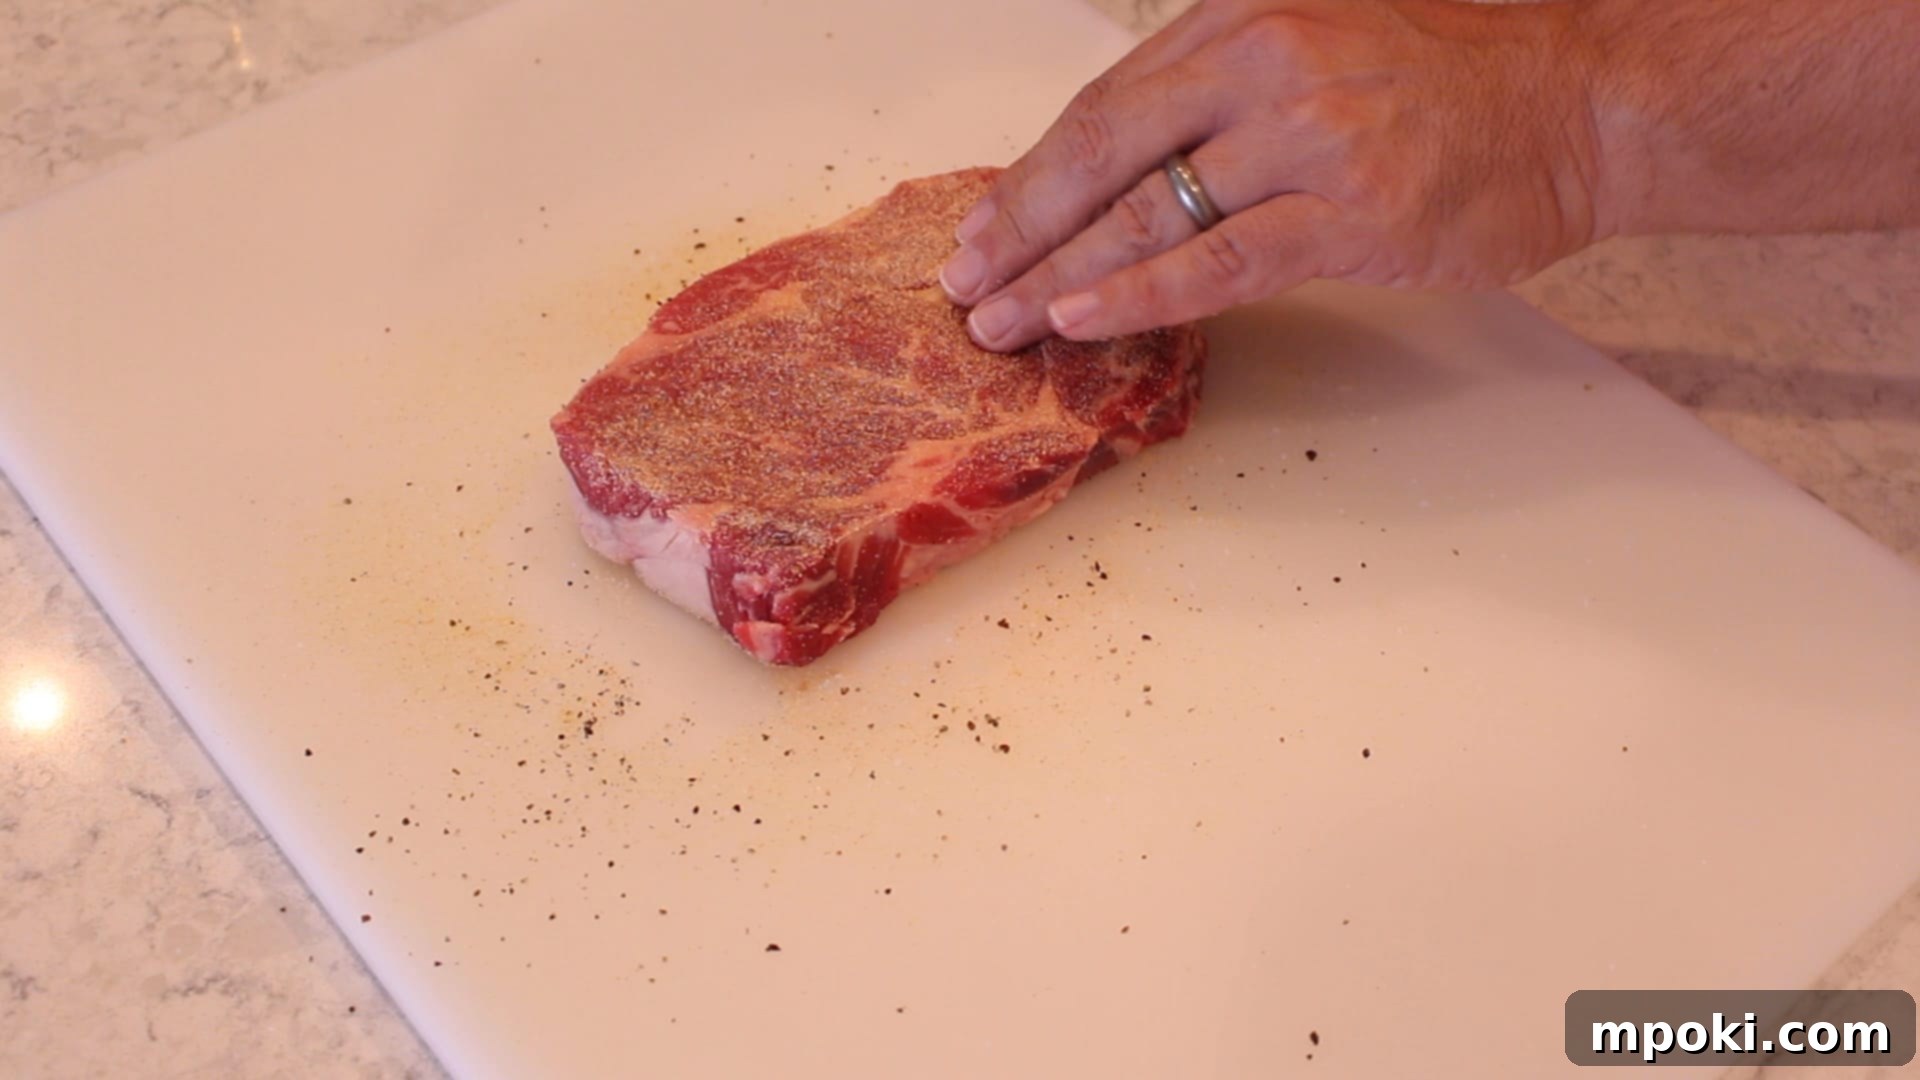
- Pat Dry: While the oven preheats, take your steak out of the refrigerator. Use paper towels to pat both sides of the steak thoroughly dry. This step is critical; excess moisture on the surface will steam rather than sear, preventing the formation of a crisp, flavorful crust later on.
- Season Liberally: Once dry, season the steak liberally on both sides. A classic blend includes garlic powder, onion powder, freshly ground black pepper, and coarse sea salt. Don’t be shy with the seasoning, especially for thicker cuts; a good amount of salt is essential to enhance the steak’s natural flavors and aid in crust development.
- Prepare Baking Sheet: Place the seasoned steak on an aluminum foil-lined baking sheet. The foil ensures easy cleanup, and the baking sheet provides even heat circulation around the steak in the oven.
2. The Slow Roast: Achieving Even Doneness in the Oven
- Initial Oven Cook: Once your oven has reached 250°F, carefully place the baking sheet with the seasoned steak into the oven.
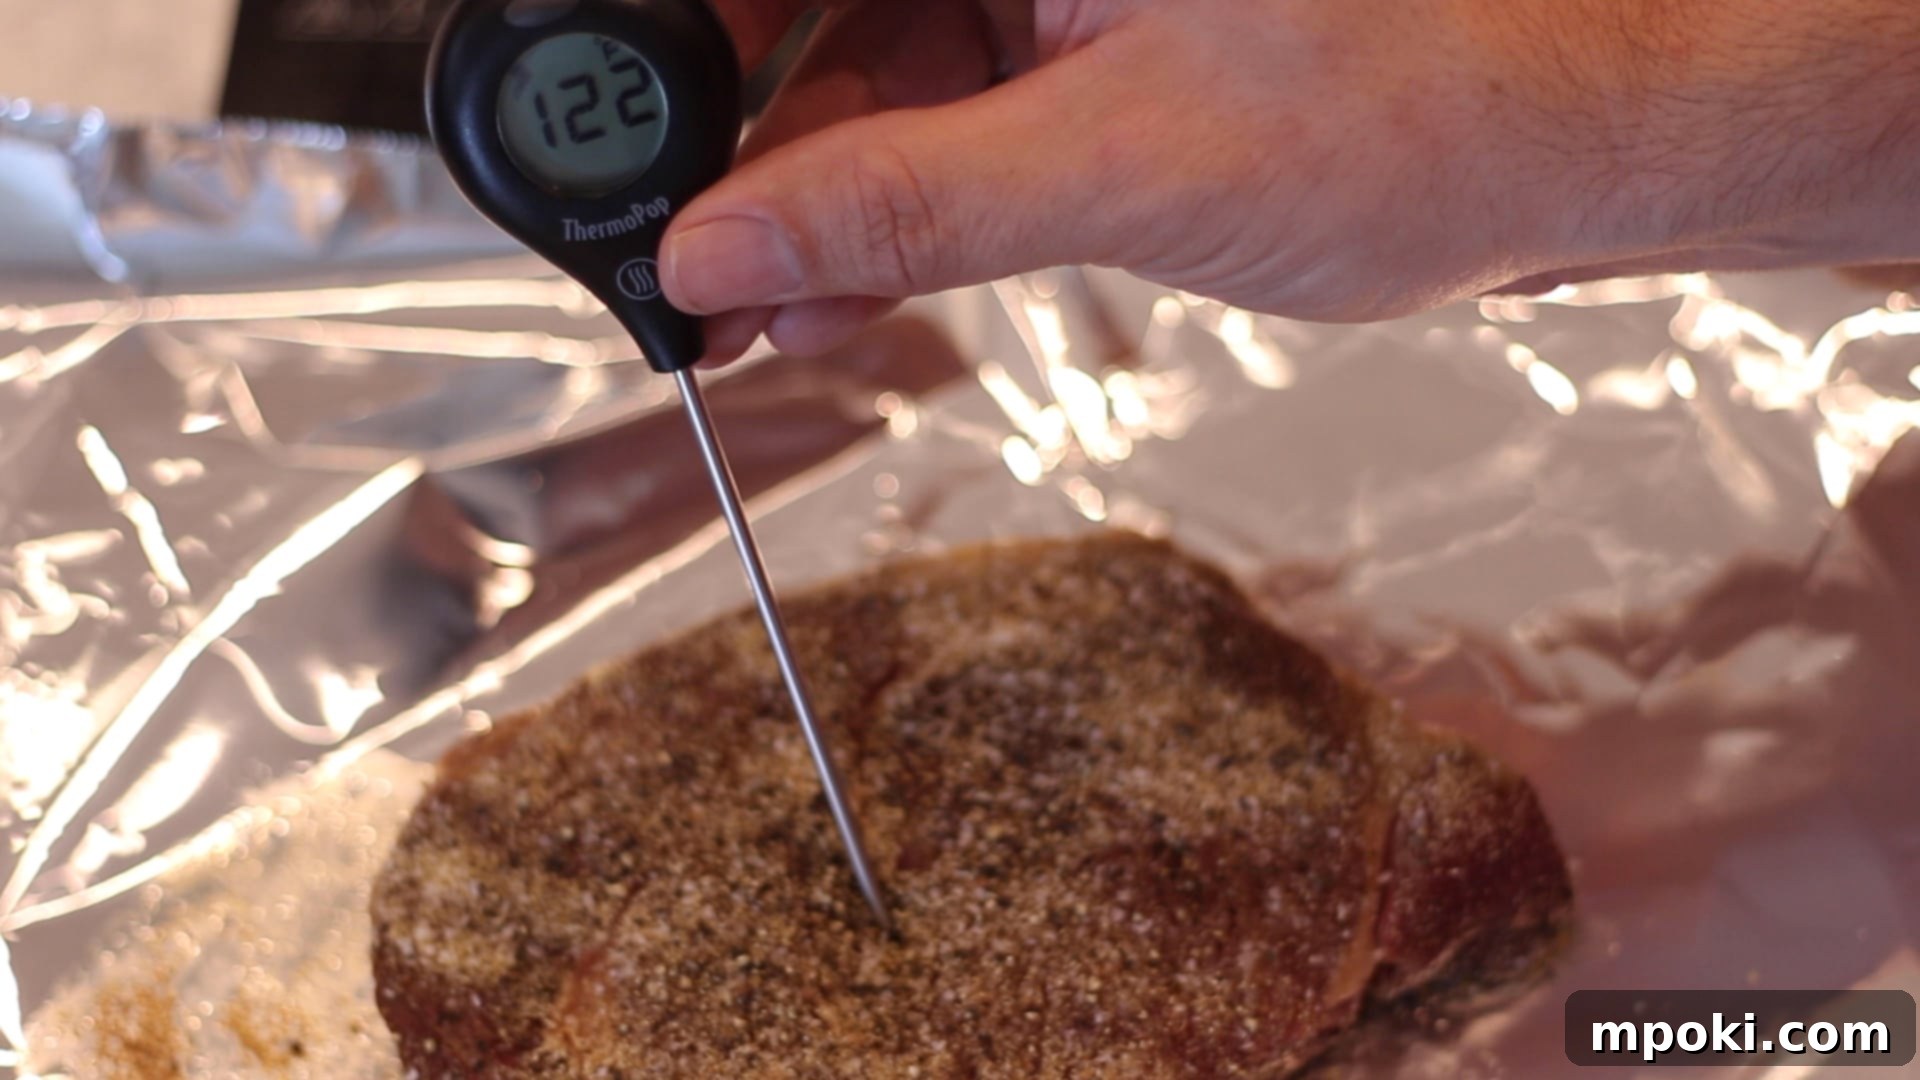
- Monitor Temperature: After approximately 15 minutes, remove the steak from the oven and check its internal temperature using a reliable meat thermometer. This is the most crucial step for perfect doneness. Your goal here is to remove the steak when it reaches about 10 degrees Fahrenheit below your final desired serving temperature. For instance, if you’re aiming for a perfect medium-rare (target 130-135°F), you should pull the steak out of the oven when it measures around 120-125°F.
- Continue Cooking (if needed): If the steak has not yet reached this pre-sear temperature, return it to the oven and continue cooking, checking the temperature every 5 minutes until it does. Thicker steaks will naturally take longer.
- Remove from Oven: As soon as your steak reaches that critical 10-degree-below-target temperature, remove it from the oven and set it aside. There’s no need to rest it at this stage; it will rest later.
3. The Searing Finish: Building That Irresistible Crust
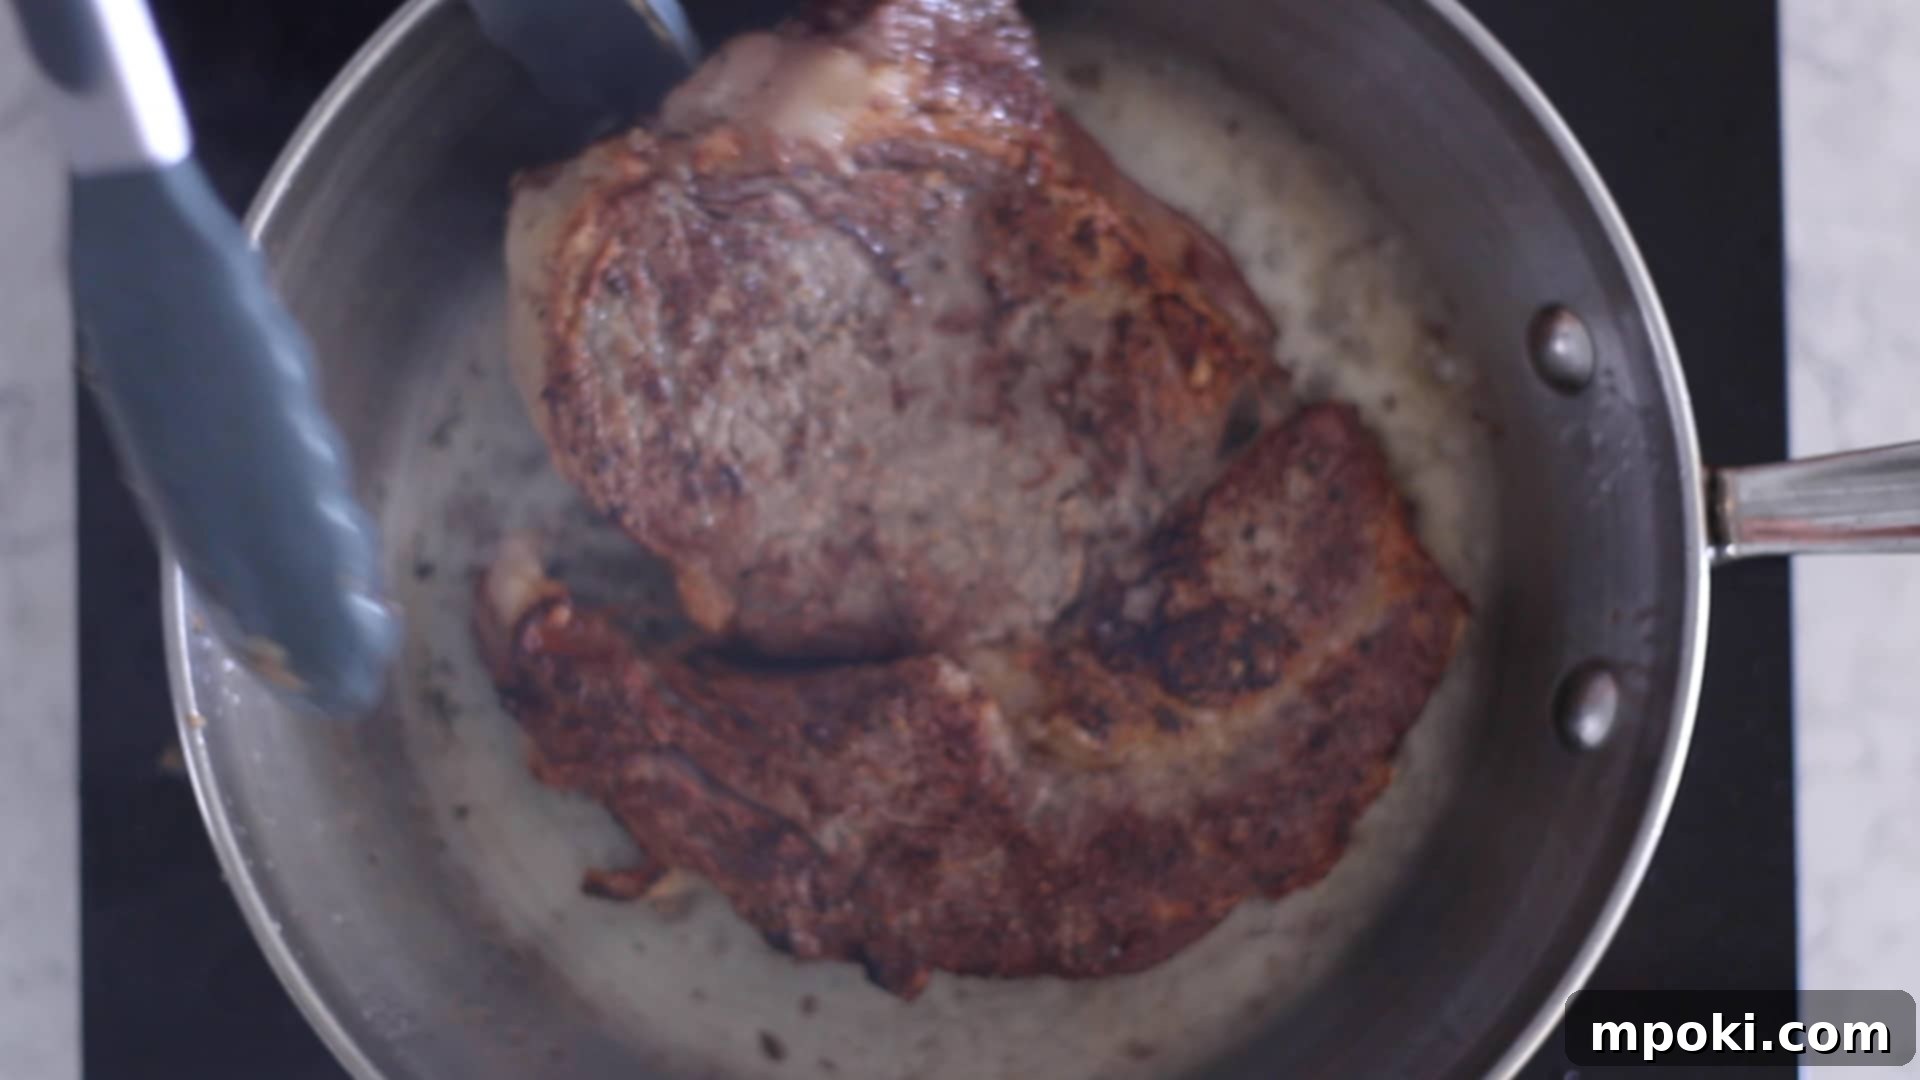
- Heat Your Pan: Place a heavy-bottomed pan, ideally a stainless steel or cast iron skillet, over a burner set to high heat. Add enough vegetable oil (or another high smoke point oil like grapeseed or canola) to generously coat the bottom of the pan. Heat the oil until it just begins to smoke lightly; this is your signal that the pan is sufficiently hot for an optimal sear.
- Execute the Sear: Carefully place the steak into the screaming hot pan. To achieve a perfectly even crust, flip the steak every 30-45 seconds. This frequent flipping technique helps build a uniform brown crust on both sides without overcooking the precious interior. The entire searing process should take 3 minutes or less. Remember, the less time the steak spends in the pan, the better, as you want to avoid raising its internal temperature too much.
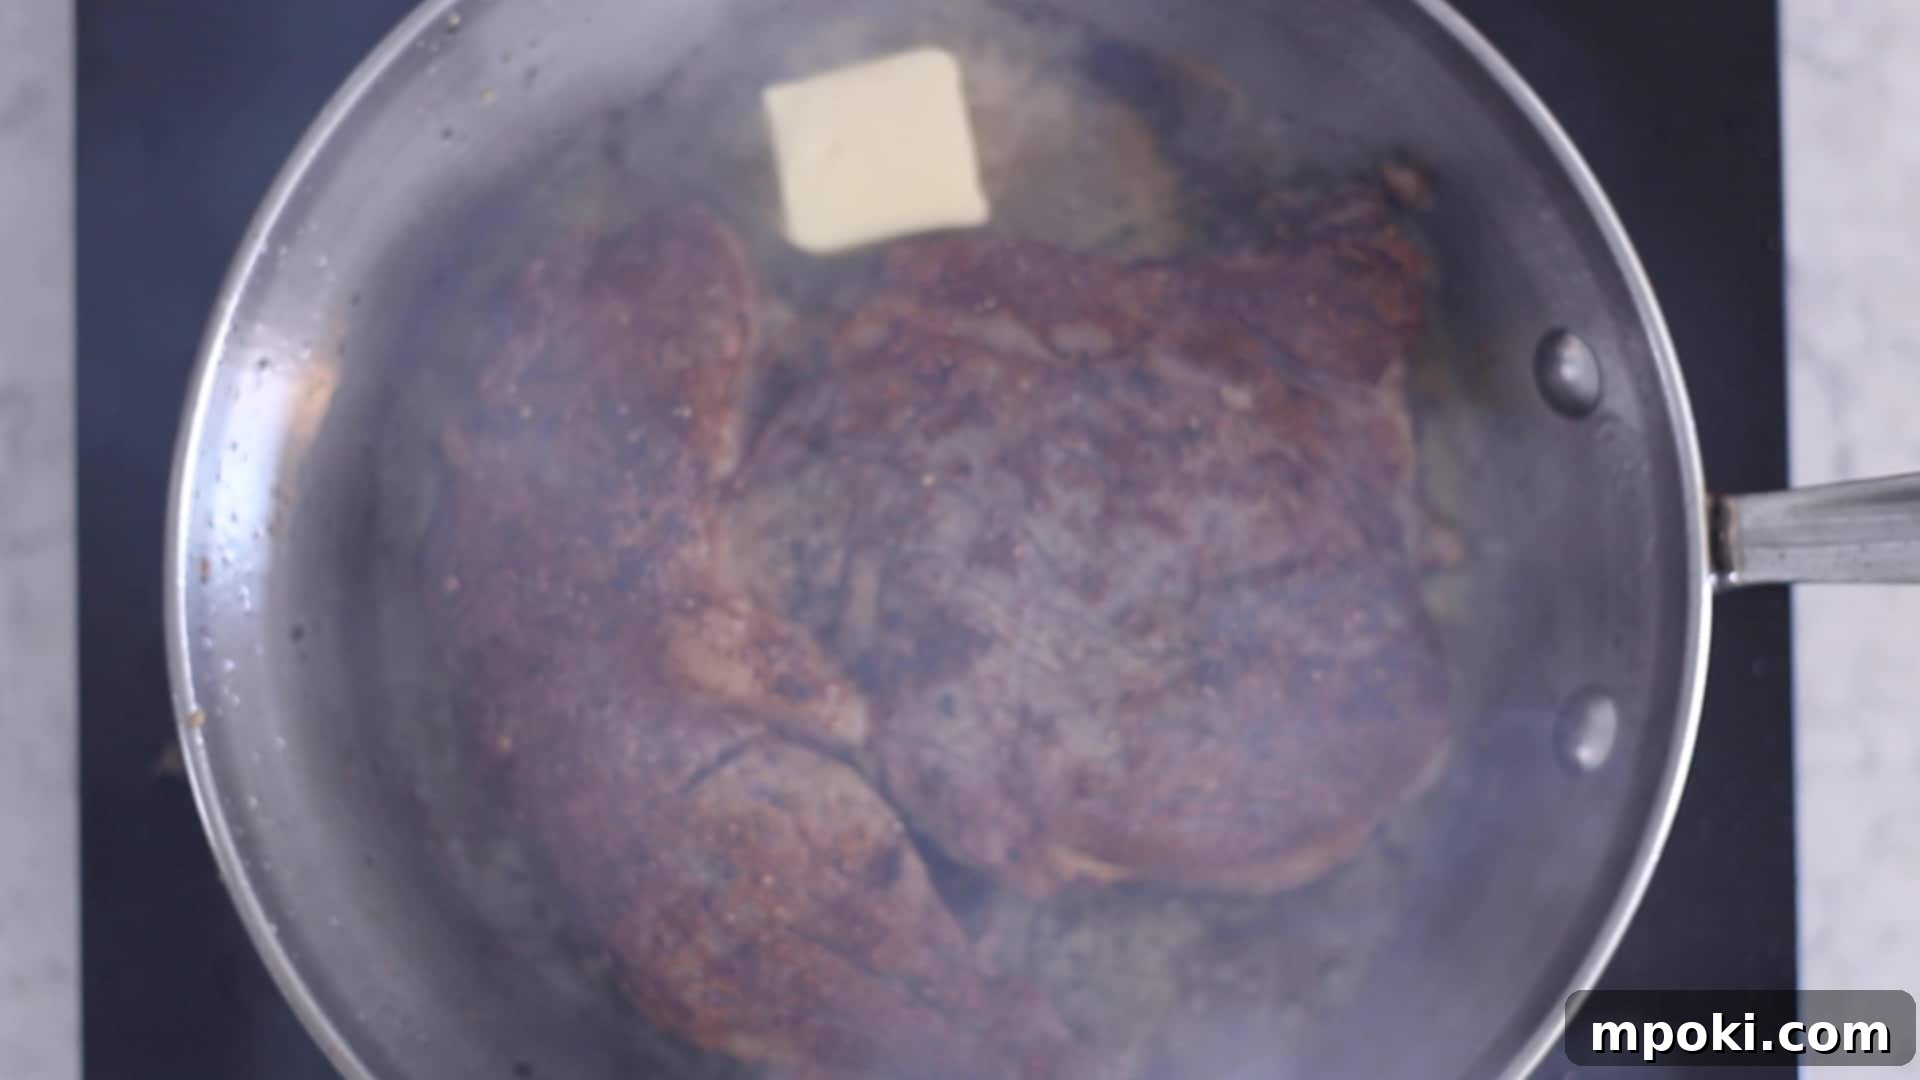
- Butter Basting (Optional but Recommended): In the last 30 seconds of searing, add 1 tablespoon of unsalted butter to the pan. You can also toss in aromatics like crushed garlic cloves, fresh rosemary, or thyme sprigs. Tilt the pan slightly and, using a spoon, continuously baste the steak with the melted butter and aromatics. This infusion of flavor will take your steak to the next level.
- Alternative Searing: If you prefer not to flip as often, you can let the steak sit on one side for about 1 minute to form a deep crust. Then, add the butter, flip the steak, and spoon the butter over it as it sears for another 1-2 minutes on the second side. Both methods work well; it’s a matter of personal preference.
4. The Crucial Rest: Locking in the Juices
- Rest the Steak: Immediately after removing the steak from the hot pan, transfer it to a clean cutting board. Let the steak rest undisturbed for a minimum of 10 minutes. This resting period is not optional; it’s absolutely crucial for redistributing the juices that have migrated to the center of the steak during cooking. Skipping this step will result in juices flowing out onto your cutting board, leaving you with a drier steak.
- Serve: Once rested, your perfectly reverse-seared steak is ready to be enjoyed. You can serve it whole or slice it against the grain into desired portions. Prepare for an incredibly tender, juicy, and flavorful experience!
Essential Tips for Cooking the Perfect Steak
Beyond the fundamental steps of reverse searing, a few additional tips can significantly elevate your steak-cooking prowess, ensuring consistent excellence every time you fire up the oven and pan.
Invest in a Reliable Meat Thermometer
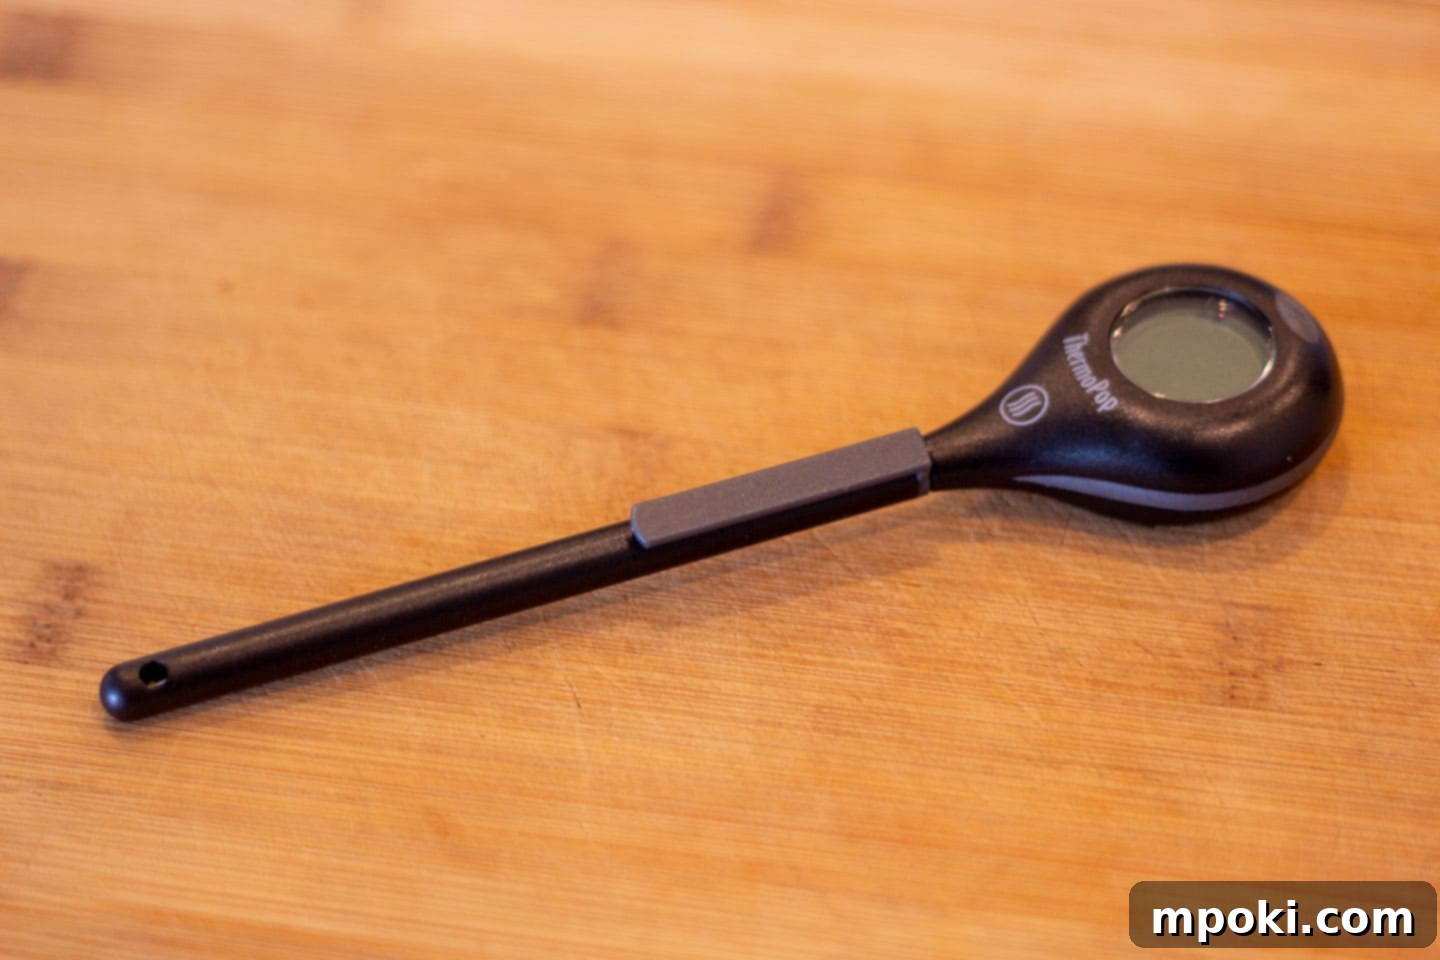
To consistently cook excellent food, particularly steak, you simply cannot guess at doneness. Relying on subjective methods like the “hand test,” touching, or other anecdotal “tricks” will lead to inconsistent and often disappointing results. A high-quality digital meat thermometer is your most valuable tool for achieving repeatable precision. Dad strongly recommends products from Thermoworks, a brand trusted by professional chefs and home cooks alike. The Thermapen is widely considered the gold standard for its speed and accuracy, providing instant temperature readings. For a more budget-friendly yet still highly accurate option, the ThermoPop is an excellent choice at around $34. Investing in a reliable thermometer ensures you hit your target temperature every time, guaranteeing the perfect doneness you desire.
Understanding Steak Doneness Levels
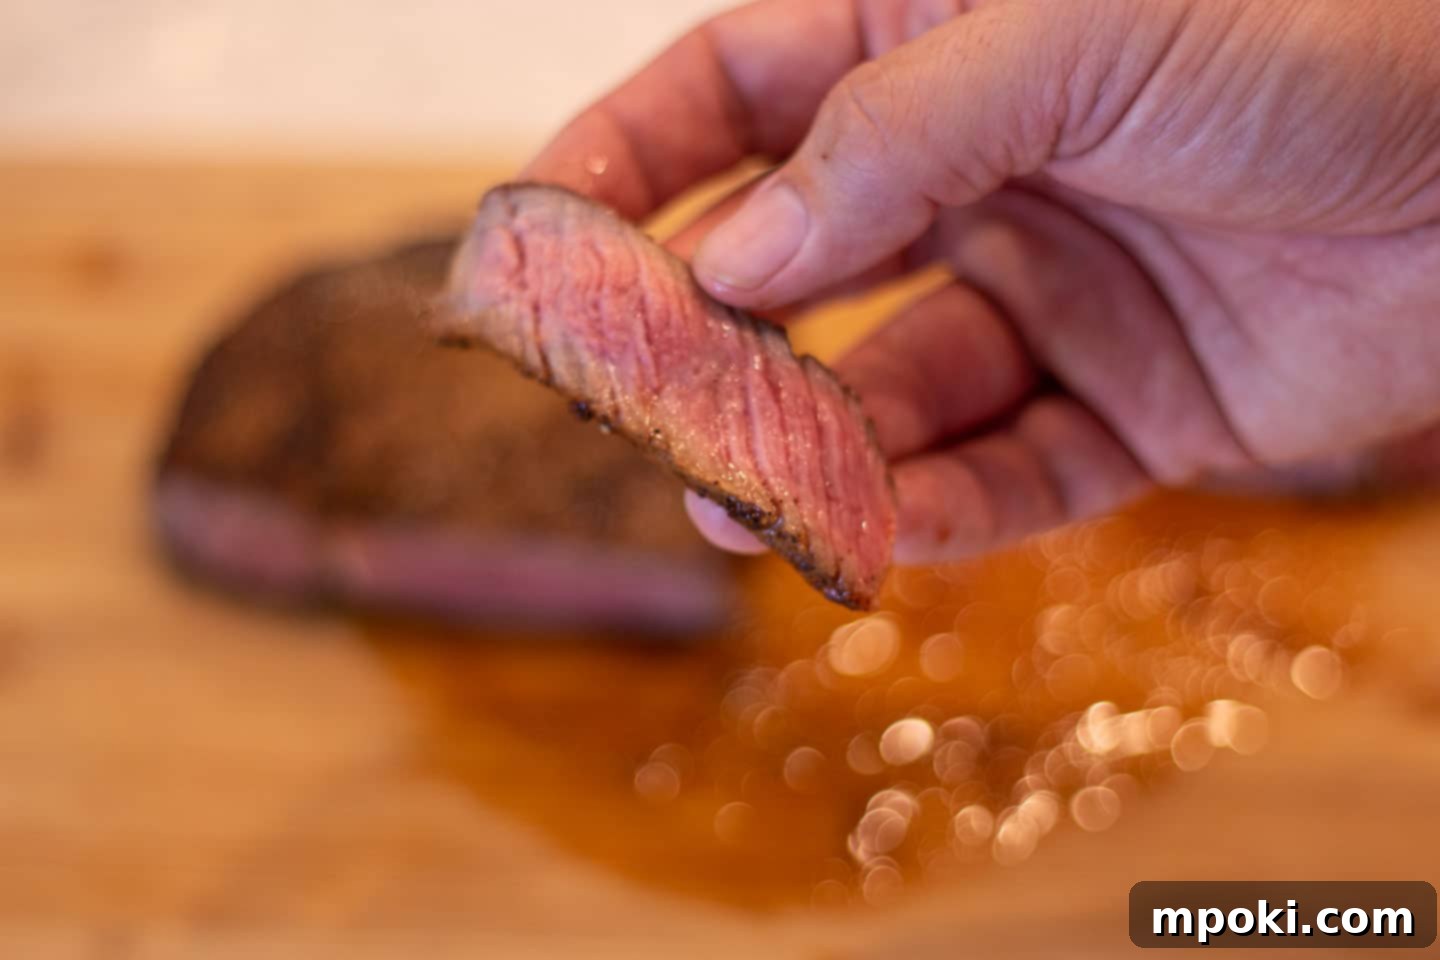
Knowing your desired internal temperature is key to cooking steak to perfection. Here’s a quick guide to common doneness levels:
- Rare: 120-125°F (49-52°C) – Cool red center.
- Medium-Rare: 130-135°F (54-57°C) – Warm red center. This is often recommended for its optimal tenderness and juiciness.
- Medium: 135-145°F (57-63°C) – Warm pink center, firmer than medium-rare.
- Medium-Well: 145-155°F (63-68°C) – Slightly pink center, mostly grey.
- Well-Done: 155°F (68°C) and up – Little to no pink, firm texture.
While Dad believes that steaks truly shine when cooked to medium-rare, offering the best balance of flavor and texture, he understands that personal preferences vary. The beauty of a reliable thermometer and the reverse sear method is that you can consistently achieve *your* perfect doneness, whatever it may be.
Consider Steak Thickness and Cut
The reverse sear method works exceptionally well with thicker cuts of steak, typically those that are 1.5 inches or thicker. Cuts like a ribeye, New York strip, porterhouse, or filet mignon are excellent candidates. Thicker cuts benefit most from the slow, even cooking in the oven, as it allows the heat to penetrate to the center without overcooking the exterior. Trying to reverse sear a very thin steak might lead to overcooking during the initial low-temperature phase or insufficient time to develop a crust during the sear. Always choose a quality cut with good marbling for the best flavor and texture.
If you prefer your steaks cooked medium and beyond but still crave that incredible tenderness, there’s another advanced technique that can deliver. Sous Vide cooking allows you to precisely tenderize the steak in a water bath before a quick sear. This method offers unparalleled control over texture and doneness, making it perfect for those who want a juicier steak even at higher temperatures. While that’s a topic for another post, if you’re interested in exploring Sous Vide steaks, check out Dad’s recipe for Sous Vide Picanha Steak.
Debunking Common Steak Cooking Myths
The world of cooking is rife with traditions and tips passed down through generations, but not all of them hold up to scientific scrutiny. When it comes to cooking steak, a couple of persistent myths continue to mislead home cooks. Let’s set the record straight.
Myth #1: Letting Steak Come to Room Temperature Before Cooking
For years, chefs and home cooks alike have been advised to take steak out of the refrigerator an hour or more before cooking, supposedly to allow it to come to “room temperature.” The theory is that a cold steak will cook unevenly and require more energy (and thus more time) to reach the desired internal temperature, resulting in a less perfect result.
However, controlled experiments have shown that this practice has a negligible effect. Even after sitting out for an hour or two, a thick steak’s internal temperature typically only rises by a degree or two Fahrenheit. This minimal change is simply not enough to significantly impact the cooking time or the evenness of doneness. The vast majority of the heat transfer still occurs during the cooking process itself. So, while it certainly doesn’t hurt to let your steak sit out for a short period while you prepare your other ingredients, don’t expect it to magically transform your cooking process or the final outcome. The energy and time are better spent focusing on precise cooking temperatures.
Myth #2: Searing to “Lock In the Juices”
This is perhaps the most enduring and widely believed myth in steak cooking. Many people are taught that you must sear a steak first to create an impermeable “crust” that traps all the delicious juices inside. The reality, supported by culinary science, is quite different.
A simple observation can disprove this myth: after you sear a steak, you’ll still notice juices seeping out, especially if you slice into it immediately. Muscle fibers cannot be “sealed” by heat to form an impenetrable barrier. What searing *does* achieve is the Maillard reaction – a complex series of chemical reactions between amino acids and reducing sugars that occurs at high temperatures. This reaction creates hundreds of new flavor compounds and the desirable browned crust that adds depth, texture, and immense flavor to your steak. It’s about developing flavor and texture, not sealing moisture.
One of the earliest and most authoritative food blogs that Dad encountered, which approaches cooking with a rigorous scientific lens, is Serious Eats, particularly through the work of Kenji Lopez-Alt. Their extensive testing and analysis consistently demonstrate that, for an evenly cooked steak with a superior crust (aside from highly specialized methods like sous vide), the reverse sear method is unequivocally the best approach.
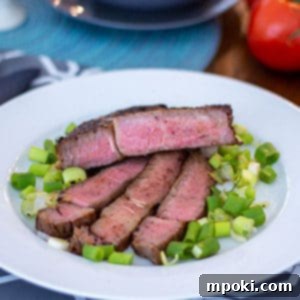
Reverse Sear Steak Recipe
If all you have is a pan and an oven, you can still cook a fantastic steak. Follow this guide to master the reverse sear method, and you’ll achieve restaurant-quality results every time.
Recipe Overview
- Prep Time: 5 minutes
- Cook Time: 30 minutes (varies by steak thickness and desired doneness)
- Resting Time: 10 minutes
- Total Time: Approximately 45 minutes
- Servings: 2 (based on a 1lb steak)
- Calories: 670 kcal per serving
- Author: Dad
- Course: Main Course
- Cuisine: All
- Keywords: how to cook steak, reverse sear, perfect steak, tender steak, juicy steak
Equipment You’ll Need
- Oven
- Stainless Steel or Cast Iron Pan (preferably cast iron for best sear)
- Half Sheet Baking Pan
- Aluminum Foil
- Reliable Digital Meat Thermometer (essential for accuracy)
Ingredients for the Perfect Reverse Sear Steak
- 1 lb Choice Grade Ribeye Steak (or your preferred thick-cut steak, 1.5 inches thick minimum)
- 1 tablespoon Garlic Powder
- 1 tablespoon Onion Powder
- 1 teaspoon Black Pepper (or to taste)
- 1 tablespoon Sea Salt (or to taste, adjust for thickness)
- 1 tablespoon Unsalted Butter (for basting)
- 2 tablespoons Vegetable Oil (or other high smoke point oil like Grapeseed, Canola, or Avocado)
- Optional: Fresh herbs like rosemary or thyme sprigs for basting
- Optional: 1-2 crushed garlic cloves for basting
Detailed Instructions
- Preheat Your Oven: Set your oven to a low temperature, specifically 250°F (120°C). This low, consistent heat is the foundation for the slow and even cooking process.
- Prepare and Season the Steak: While the oven is preheating, remove the steak from its packaging and thoroughly pat both sides dry with paper towels. Liberally season both sides of the steak with garlic powder, onion powder, black pepper, and sea salt. Ensure good coverage for maximum flavor.
- Set Up for Baking: Place the seasoned steak on an aluminum foil-lined baking sheet. This setup ensures proper air circulation and makes for easy cleanup.
- Begin the Slow Roast: Once your oven has reached the target temperature of 250°F, carefully place the baking sheet with the steak into the preheated oven.
- Monitor Internal Temperature: After approximately 15 minutes, remove the steak and use your reliable digital meat thermometer to check its internal temperature. The critical point here is to remove the steak when it reaches 10 degrees Fahrenheit below your final desired serving temperature. For a medium-rare steak (target 130-135°F), aim to pull it from the oven when it measures around 120-125°F. If it hasn’t reached this temperature, return it to the oven and check every 5 minutes until it does.
- Remove from Oven: Once the steak hits the required pre-sear temperature (10 degrees below your final target), remove it from the oven.
- Heat Your Searing Pan: Place a heavy-bottomed pan (cast iron or stainless steel is ideal) over a burner on high heat. Add enough vegetable oil to generously coat the pan. Heat the oil until it just begins to smoke lightly; this signifies the pan is hot enough for an effective sear.
- Perform the High-Heat Sear: Carefully place the steak into the smoking hot pan. Flip the steak every 30-45 seconds. This frequent flipping method helps to build a uniform, beautiful brown crust on both sides without overcooking the perfectly roasted interior. The entire searing process should take 3 minutes or less.
- Butter Basting (Optional): In the final 30 seconds of searing, add the unsalted butter to the pan. If using, also add fresh herbs and crushed garlic cloves. Tilt the pan slightly and continuously spoon the hot, melted butter and aromatics over the top of the steak as it sears.
- Alternative Searing Method (Optional): If you prefer a less frequent flip, you can let the steak sit on one side for about 1 minute to develop a crust. Add the butter, then flip the steak and spoon the butter over it, searing for another 1-2 minutes on the second side. Both techniques are effective; choose the one you find most comfortable.
- Rest the Steak: Immediately transfer the seared steak to a clean cutting board. Let it rest for a minimum of 10 minutes. This essential resting period allows the muscle fibers to relax and the internal juices to redistribute, resulting in a significantly juicier and more tender steak.
- Serve: Once rested, your perfectly reverse-seared steak is ready to be enjoyed. Serve it whole or slice it against the grain into desired portions.
Recipe Notes: Reverse Sear on a Grill
This highly effective reverse sear method can also be adapted for outdoor grilling. To do this, you’ll need to set up your grill for “two-zone cooking.” This means creating one area of the grill with indirect, low heat and another area with direct, high heat. Start by cooking the steak on the indirect side until it reaches approximately 10 degrees Fahrenheit below your desired final temperature. Then, transfer the steak to the direct, high-heat side of the grill to achieve that beautiful, smoky crust.
Nutrition Information (per serving)
Serving Size: 8oz | Calories: 670kcal | Carbohydrates: 6g | Protein: 47g | Fat: 52g | Saturated Fat: 29g | Cholesterol: 153mg | Sodium: 3612mg | Potassium: 690mg | Fiber: 1g | Sugar: 1g | Vitamin A: 209IU | Vitamin C: 1mg | Calcium: 29mg | Iron: 4mg
Tried this recipe?
Mention @DadGotThis or tag #DadGotThis!
Beyond the Plate: More Steak Wisdom from Dad
Now that you’ve mastered the reverse sear, you’re well on your way to cooking incredible steaks consistently. But the culinary journey doesn’t have to end here!
Did you know Dad also shares his passion for cooking through his YouTube Channel? There, you’ll find longer, more in-depth videos that not only cover recipes but also include extra tips, tricks, and sometimes a few entertaining antics from Dad himself. If you enjoyed this guide and want to see the techniques in action or explore more fun cooking content, be sure to check out the channel. It’s a great resource for learning new skills and finding inspiration for your next meal.
Cooking is an adventure, and with the right knowledge and tools, you can confidently create dishes that delight. So go forth, experiment, and most importantly, enjoy the delicious results of your efforts. Now, armed with the power of the reverse sear, go cook something truly amazing!